


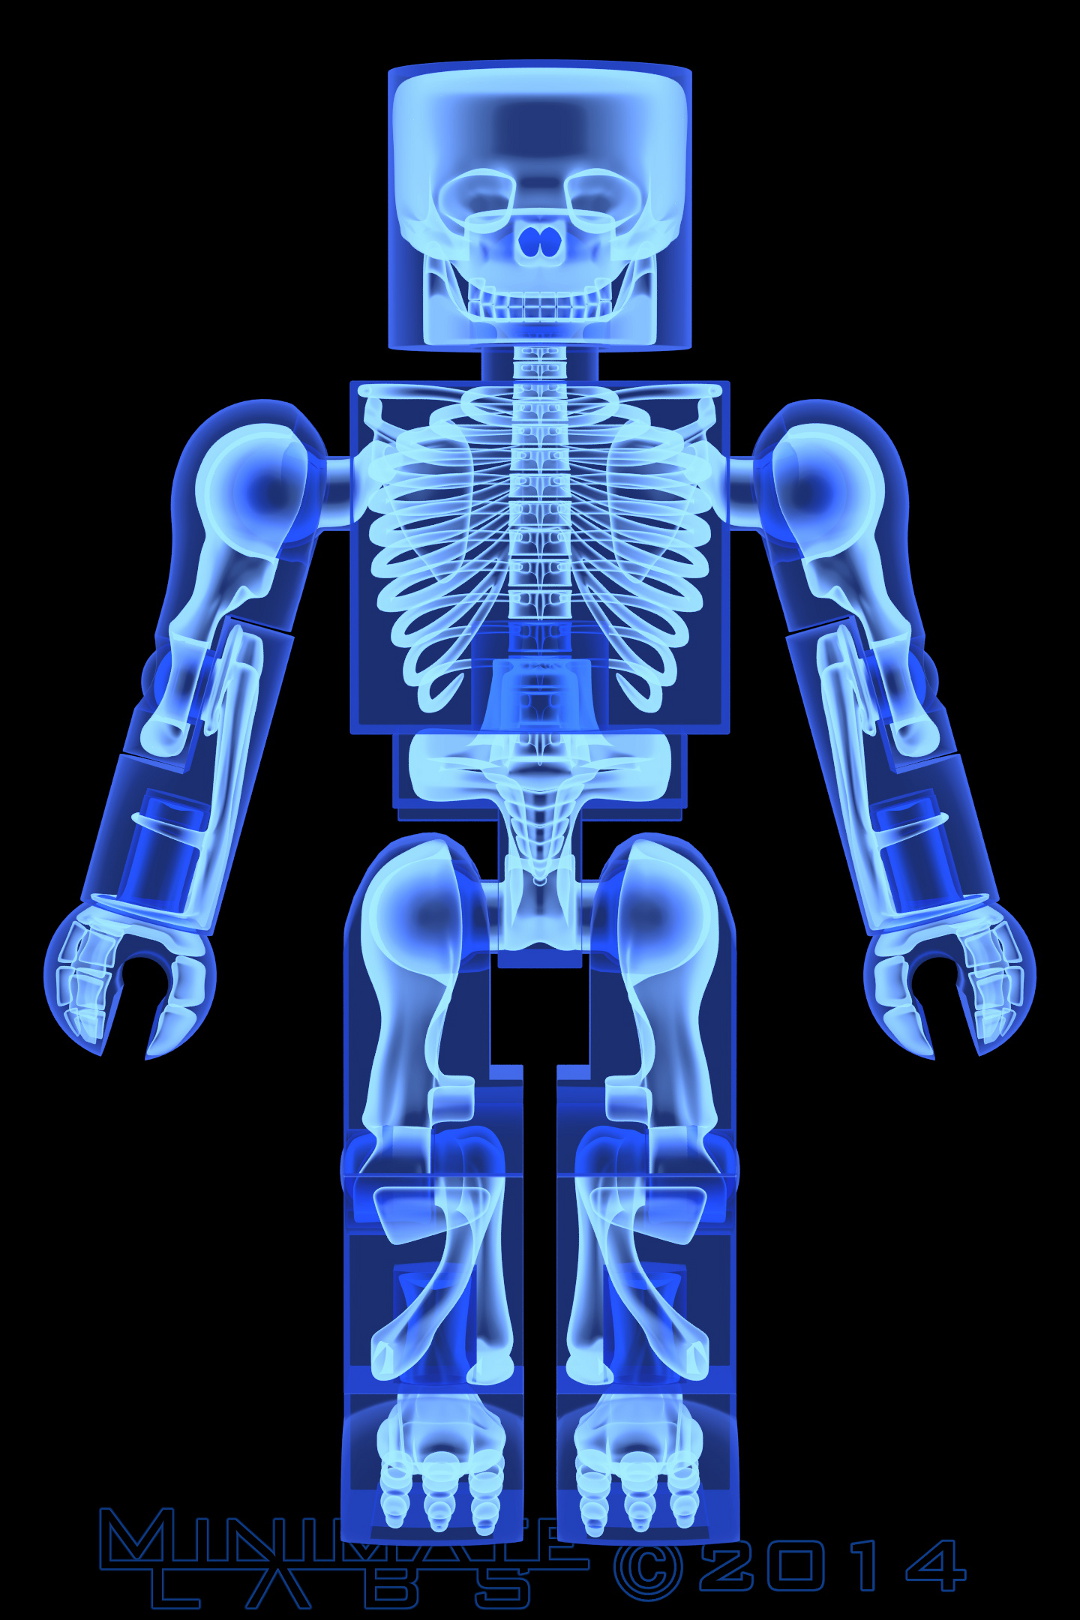
 Skeleton X-Ray
January 16, 2014
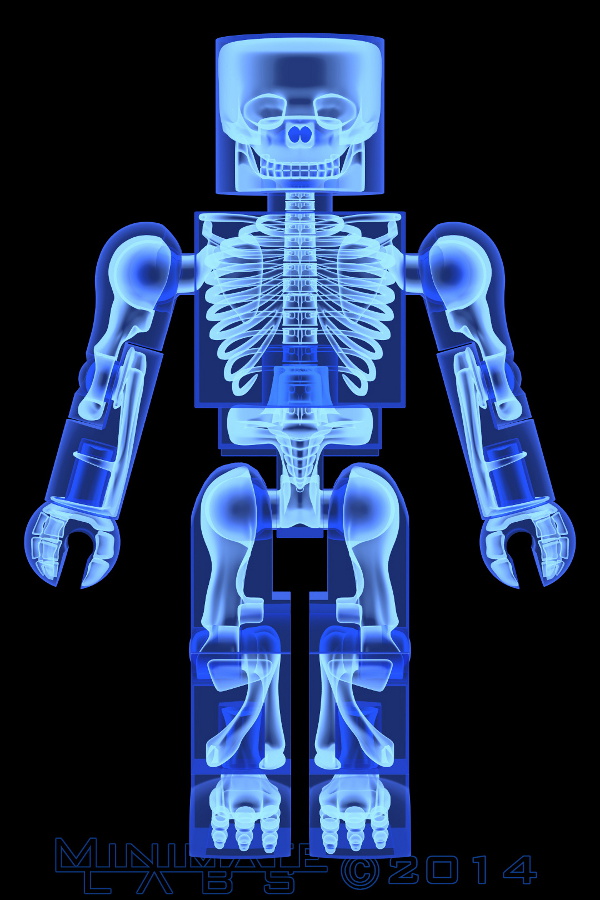
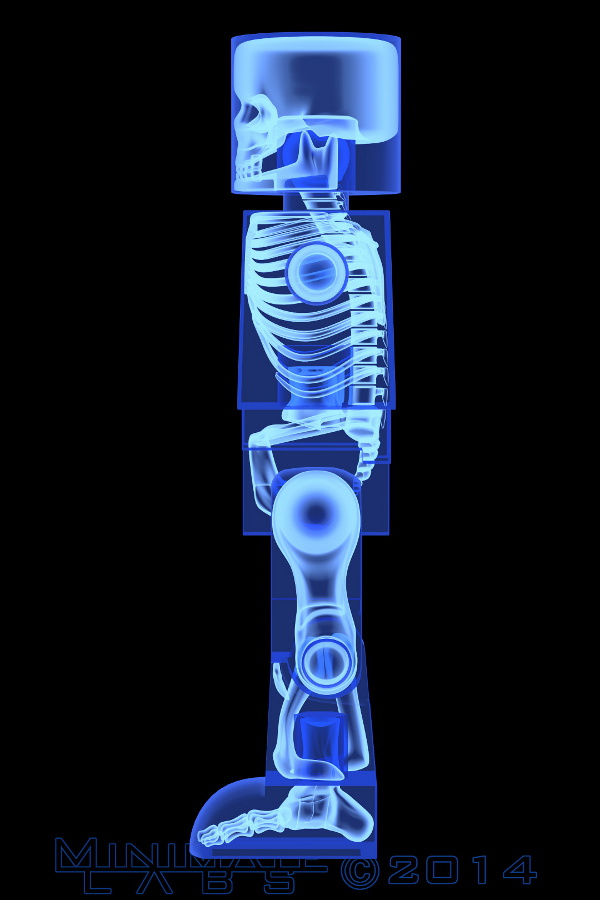
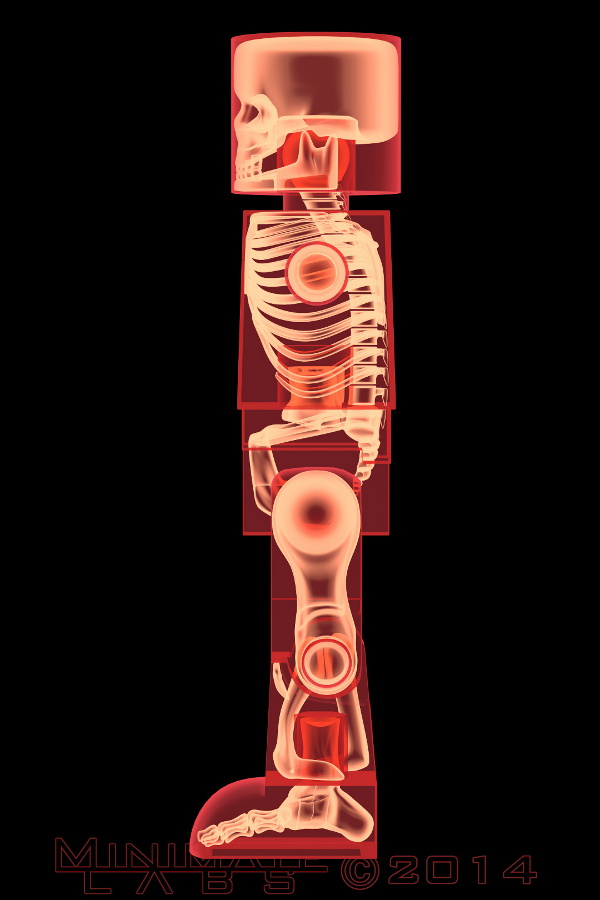
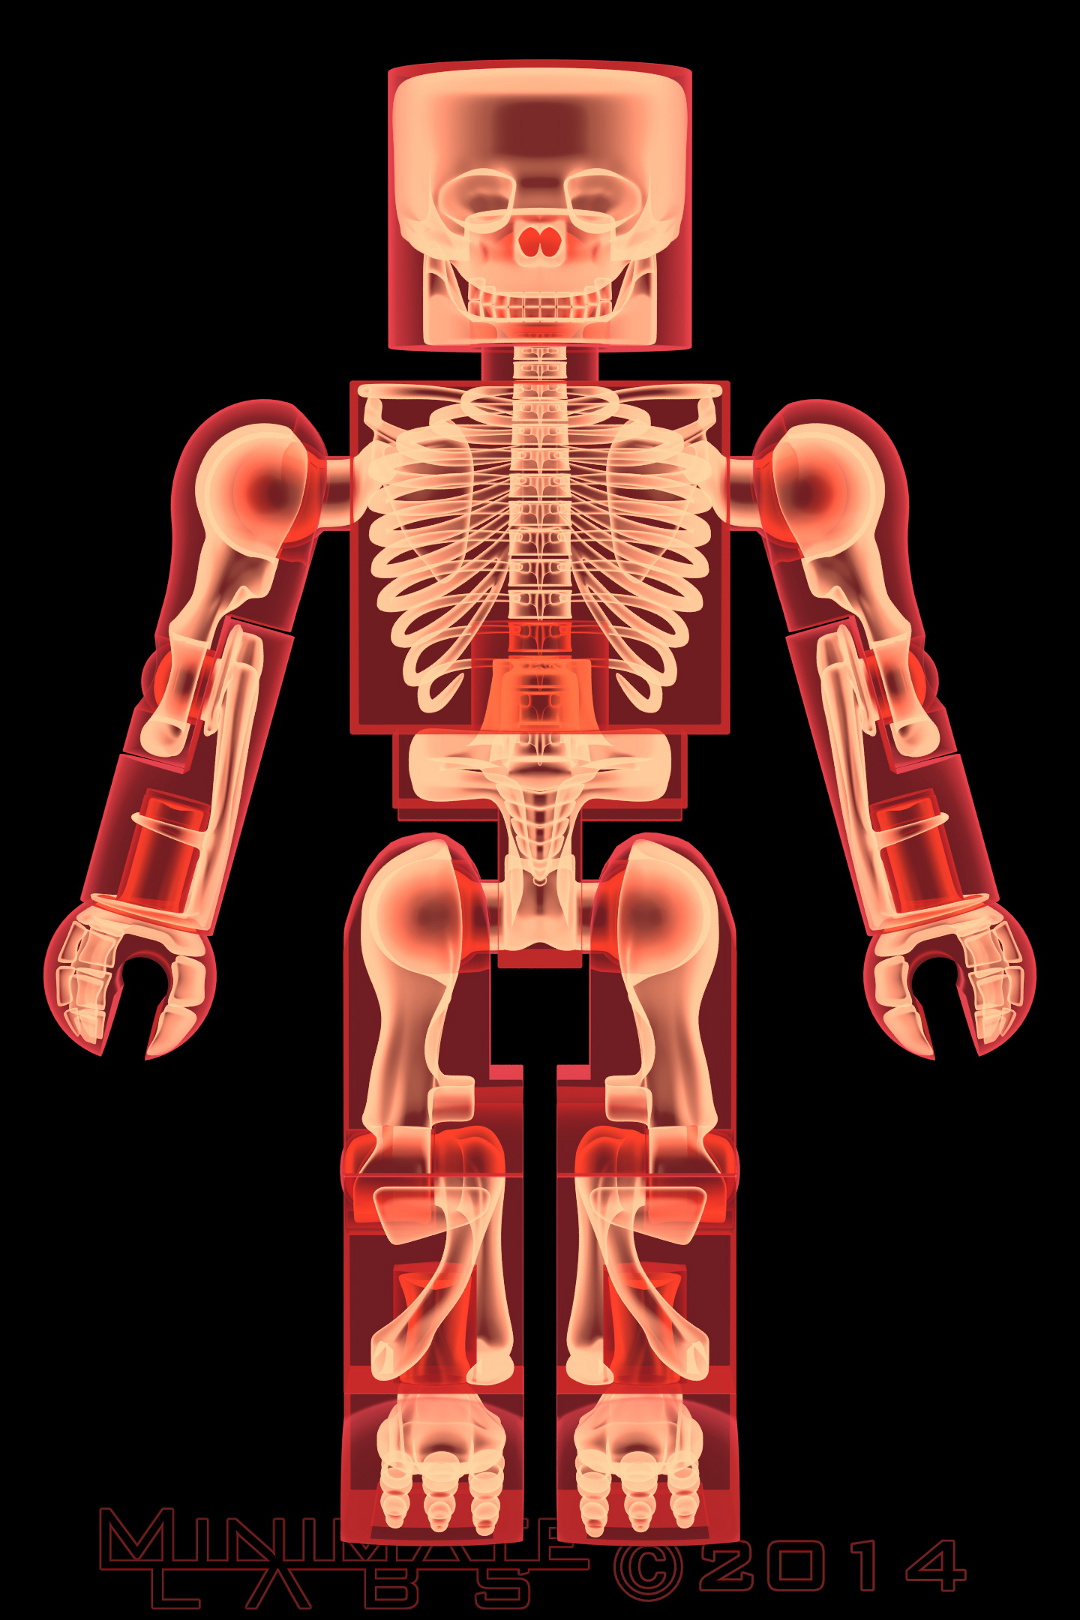
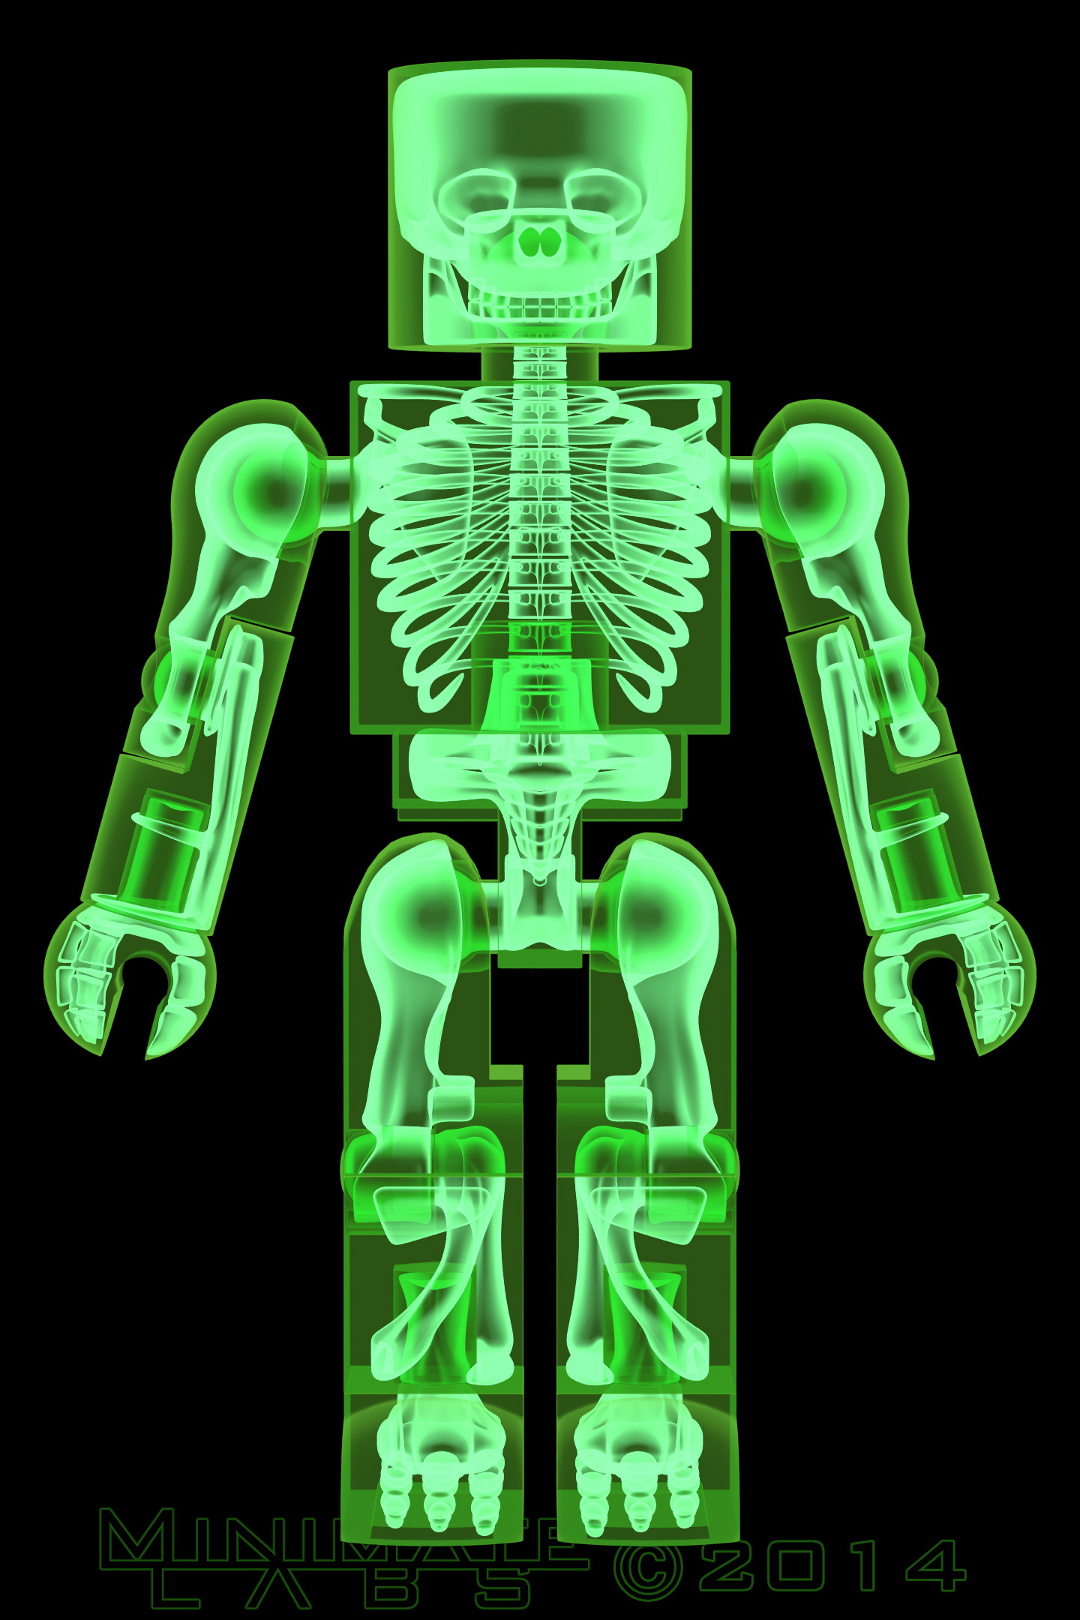
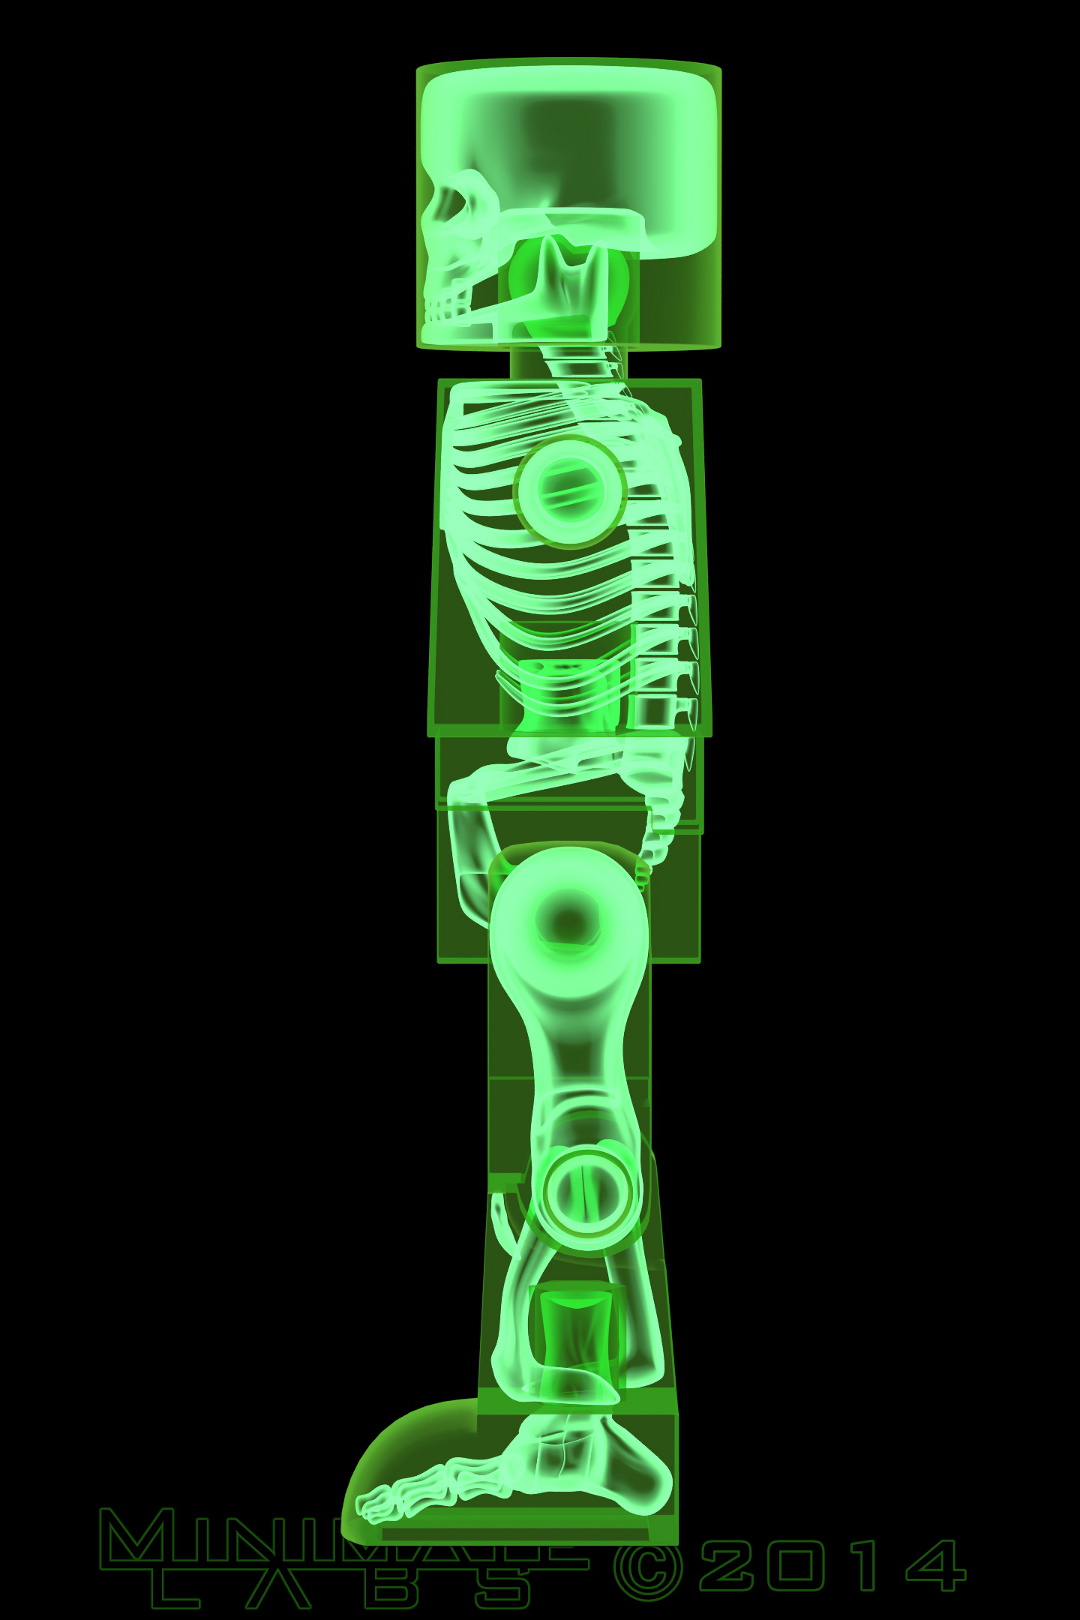
You can click the images to get larger versions. I found a way to render these in Blender that gives a nice edge glow but is more transparent in smooth areas. It uses material nodes and the Cycles render engine which is a lot different from how I've used Blender in the past. I'd like to do more with nodes but I'm not sure that you can use both methods in the same render. We probably won't see Dr. Strange examining X-Rays anytime soon.

That makes me want to get a couple of these printed as transparencies. They would look great backlit by a light box or something. If I do it, I'll post images here.


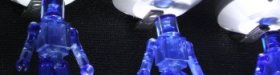
Blue: Anterior, Lateral
Red: Anterior, Lateral
Green: Anterior, Lateral
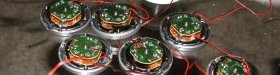
Rendered TorsoJanuary 2, 2014
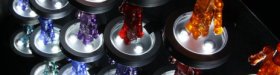
Translucent Tuesday PunchDecember 31, 2013
You can see all the the entries here.
Stained Glass PhoenixDecember 24, 2013
When starting something new, my first reaction is to go slow, experiment and learn how to do it right. I quickly realized that wouldn't win me any contests, so I went full bore with a roughly 14" by 14" Phoenix image with over 100 pieces of glass. Here's the result.
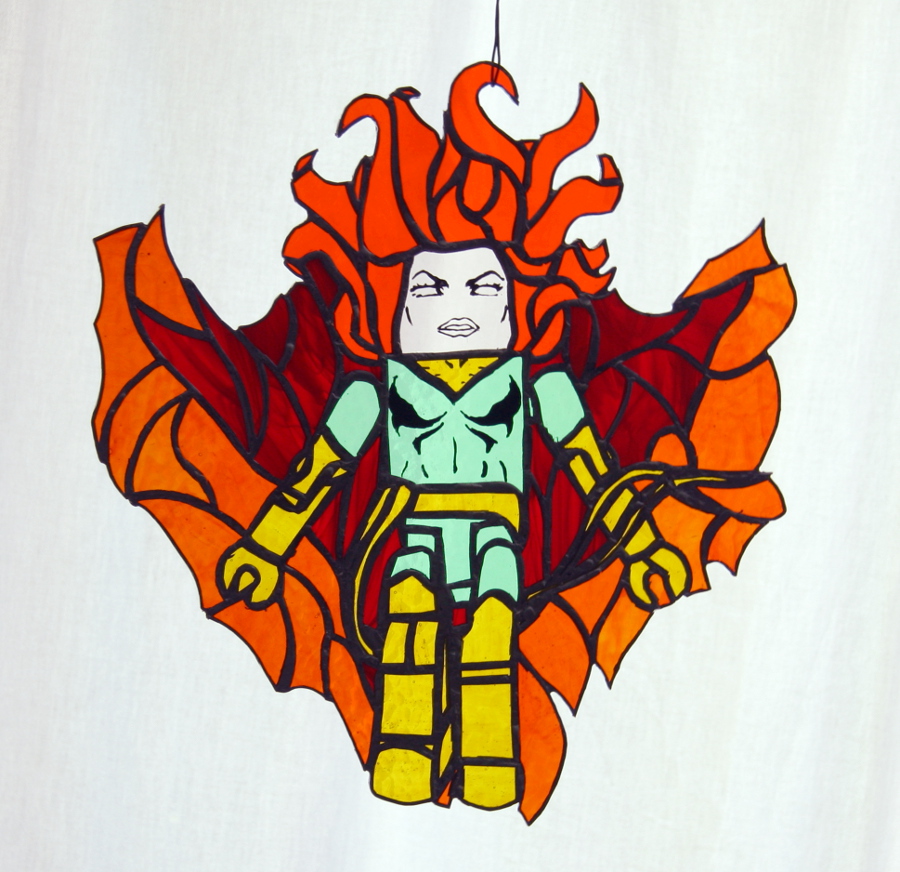
This is actually a scaled-back version. My original template had a much larger fiery Phoenix Force in the background. I do plan on finishing the full version in the upcoming months. Keep checking back.
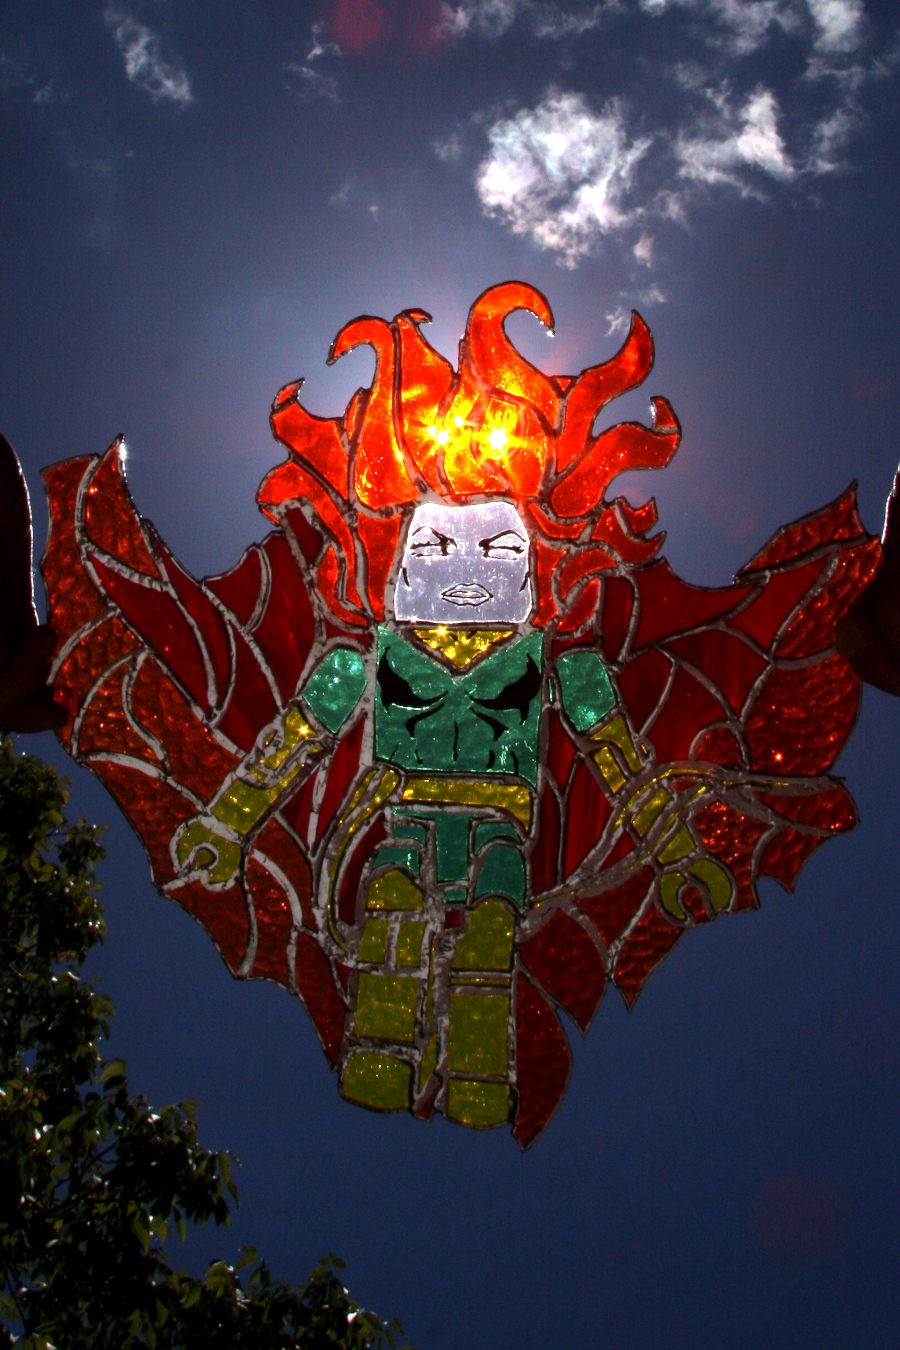
Back lit on a bright, sunny day. Here you can really see the texture of the glass. I wish I hadn't used such small pieces for the sash. They really caused a lot of difficulties and detract from the overall look. Oh well, lesson learned.
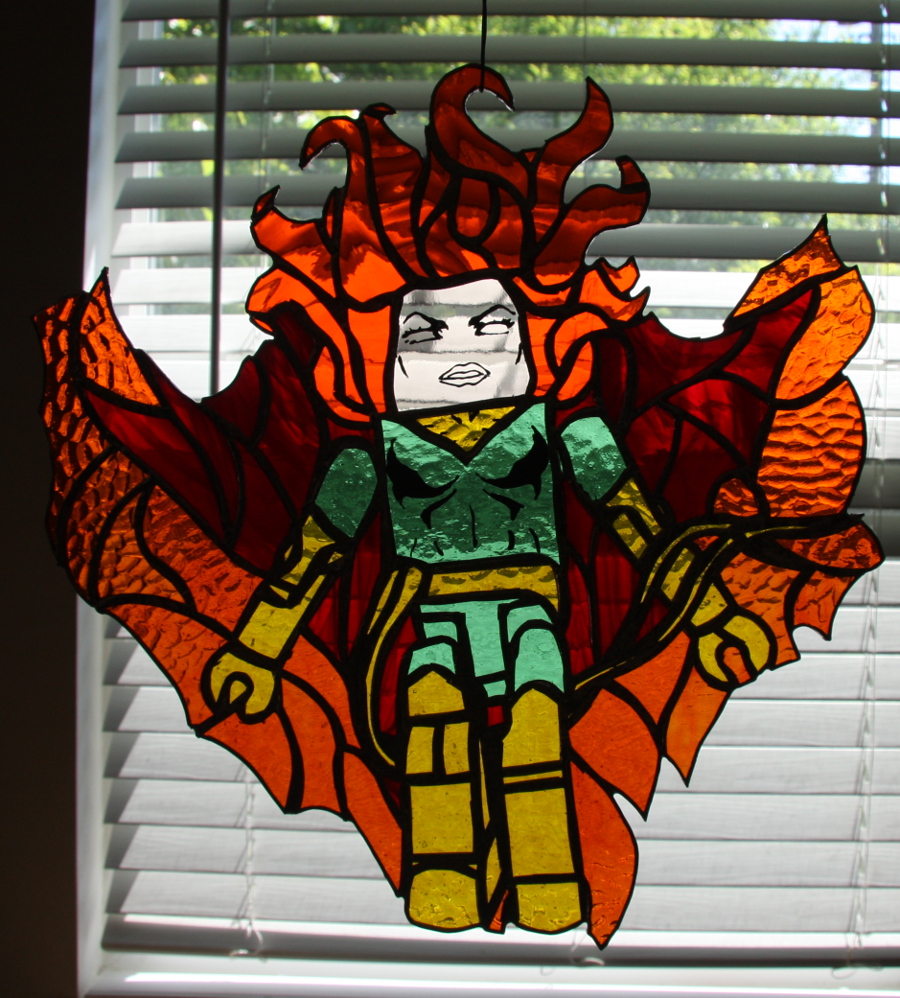
Against the work room window. In these photos you can't really see the solder lines. That's the part that I'm least satisfied with. They are uneven and a bit lumpy.
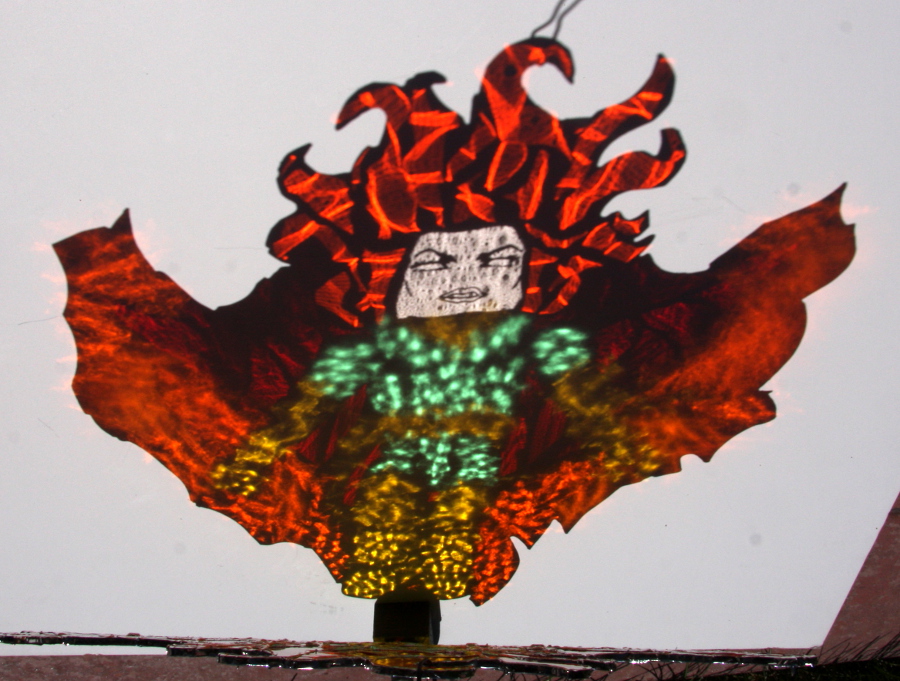
Here's a big reason why I love stained glass. Refraction. It's so cool way the light bounces and flows as you move the piece. The way the different types of glass bend the light.
You can see all the anniversary contest entries here.
Materials TestingMay 31, 2010
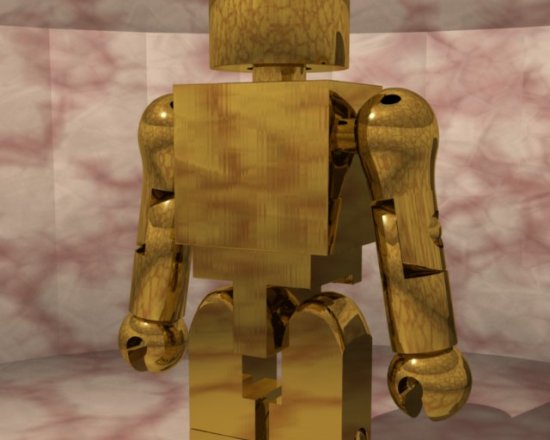
Gold

Hot Metal

Ice
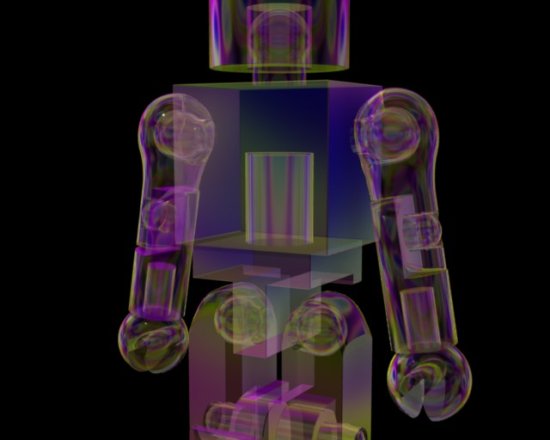
Soap Film
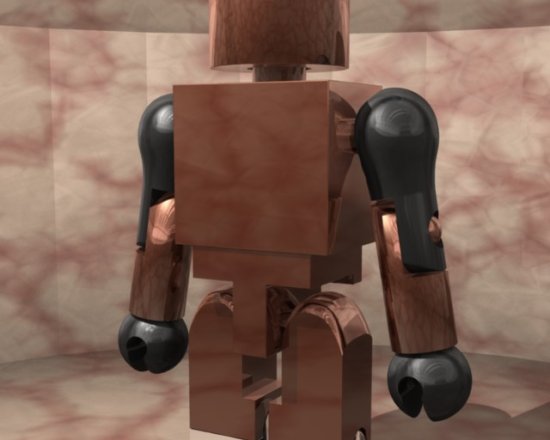
Mixed Metals
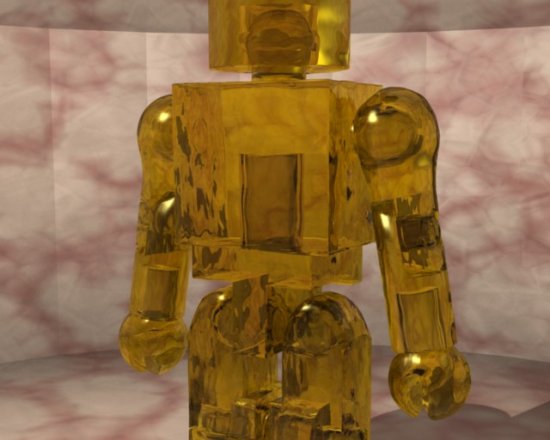
Honey
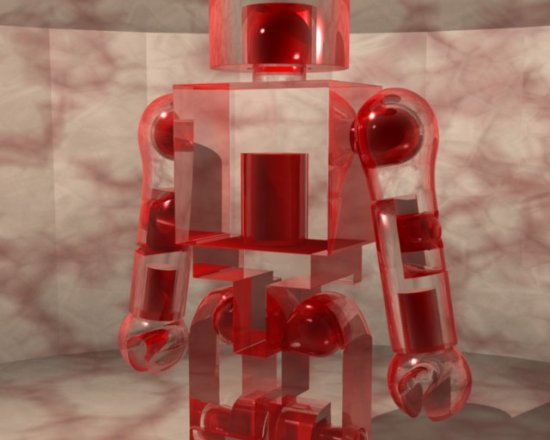
Red Tinted Glass
You'll notice in some of the transparent images that I didn't model the interior of the torso block. It's on the task list.
Stop Motion Experiment 1 - Red LiftFebruary 11, 2010
The perfect cop-out.
I learned some valuable lessons from this initial stop-motion project:
- It's very important to lock down your camera's tripod.
- It's very important to lock down your subject matter.
- Pet's should be isolated for the duration of the shoot.
- Crouching is not comfortable for long periods of time.
- Make sure subject is in focus.
- Pants are optional.
- Dancing is forbidden!
I intend the next one to be much more interesting.
Translucent Wall HangingsOctober 20, 2009


Read More...
Pantone ProjectOctober 5, 2009
Read More...
