500% Minimate Completion
June 12, 2015

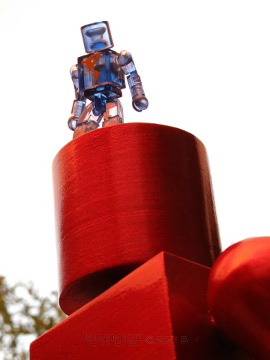
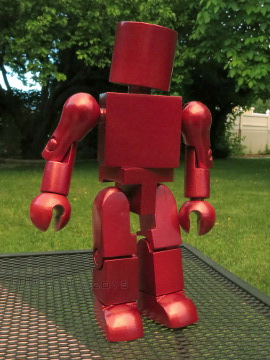
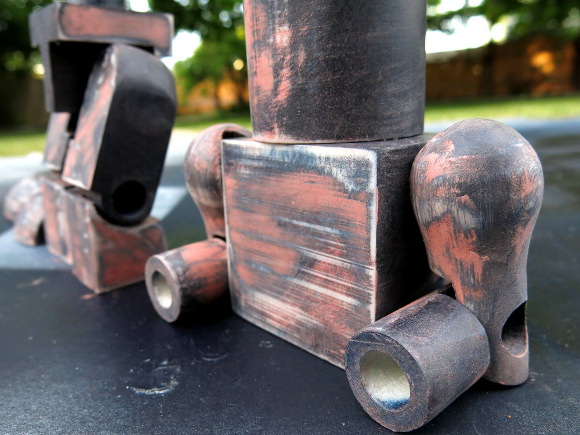
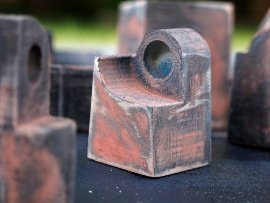
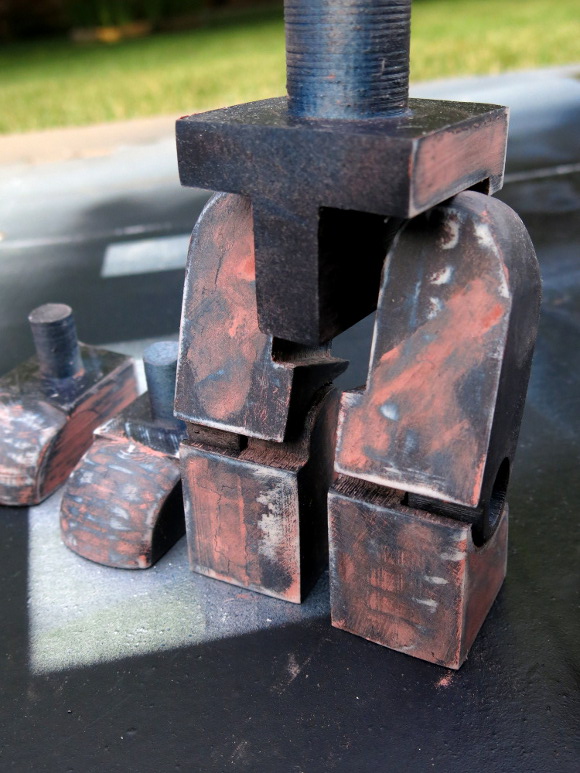
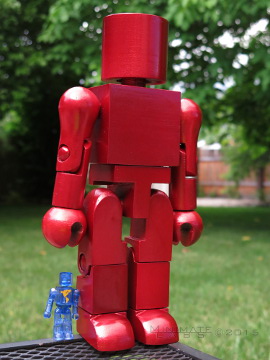
I made some time in the spring to finally finish up the 500% Minimate. I went with automotive paint for the metal flake appearance. After multiple coats, I topped it off with a couple clear coats for protection. Unfortunately before I was able to apply the clear coat to the head, I dropped it on my patio. It chipped out a sizable chunk and I went back to the fill-sand-paint routine for a while. Now I can't even tell where it chipped.


The light was changing on me while I was taking photos, so the color balance is off a bit from picture to picture. The closest color match is probably the side-by-side size comparison shot below.
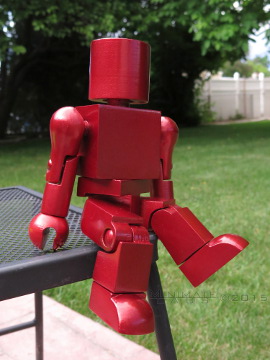
   

As you can see it is still fully poseable. Though the paint on the ball joints is wearing away and it doesn't look great around the joints.
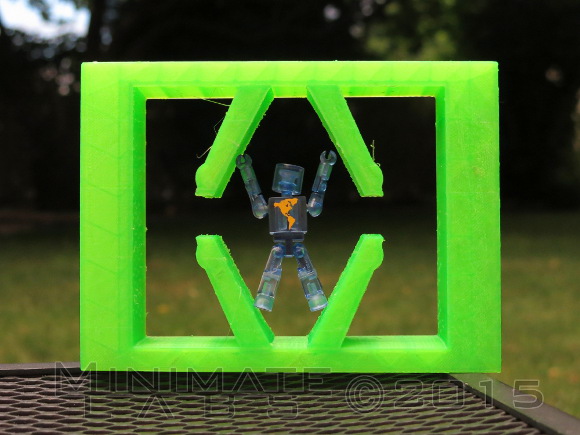
The printer is back in operation, so next I'm going to see just how big I can make one of these suckers. Two Internet points if you can figure out the scale.
 Stippled Hand
September 30, 2014

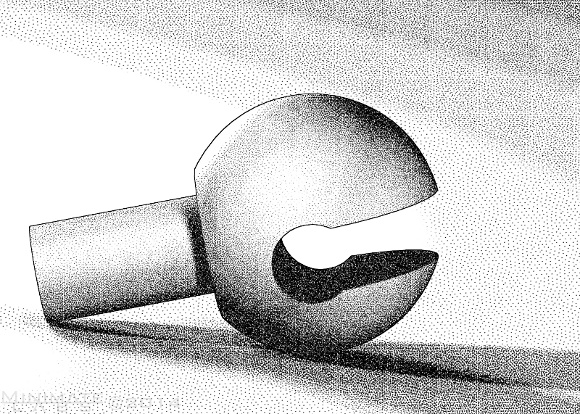
Just playing around some more with non-photorealistic rendering in Blender.
I really like the look of old scientific illustrations. This seems pretty close, but I need to work on that banding. Larger version.
 LabTable: Print Surface Prep
September 25, 2014

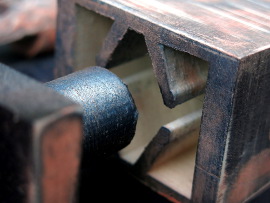
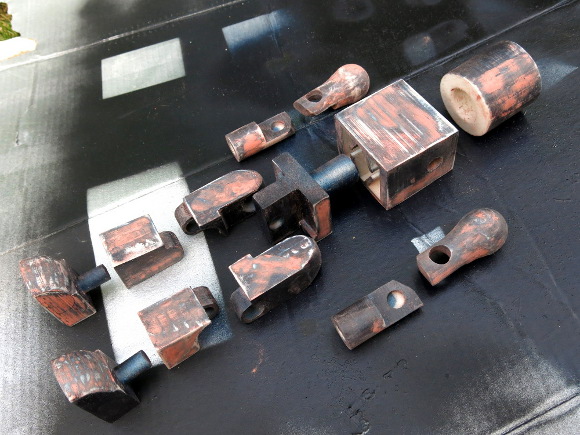
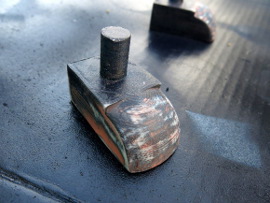
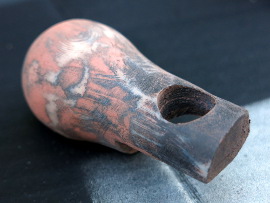
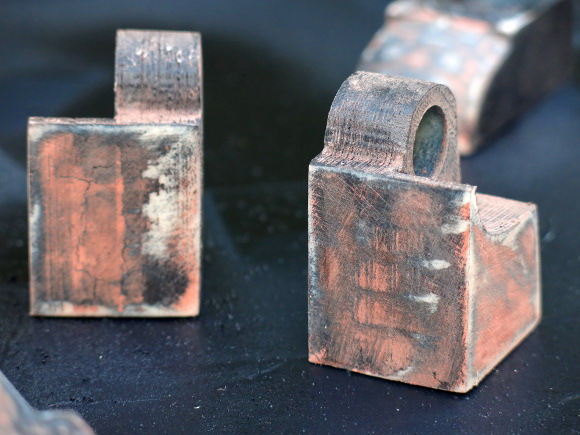
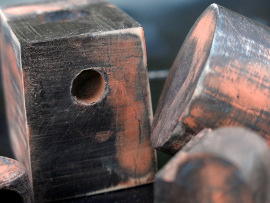
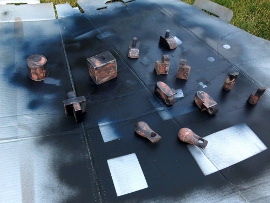
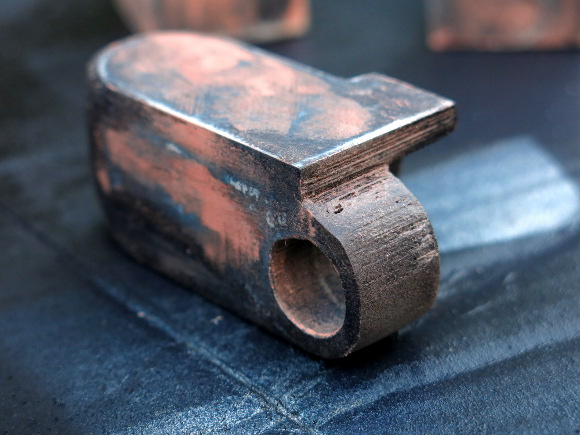
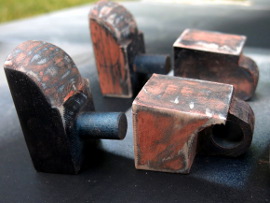
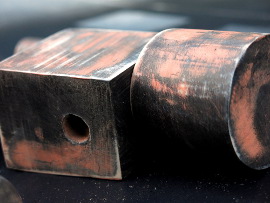
Time to get back to the large printed Minimate. All of the major pieces are printed (or reprinted) and I've done some heavy sanding and filling to get a smooth finish. Before applying another layer of paint I took these photos of the cleaned up prints.


Look at all that texture.
 Lotus Hip
September 23, 2014

When the topic of "redo"ing a Minimate comes up, sometimes Dr. Strange is mentioned. While it is widely agreed the version from the Defenders box set is excellent, it is almost seven years old and some would like to see a new version incorporating recent advancements in Minimate technology. Like extra pieces to show alternate looks.


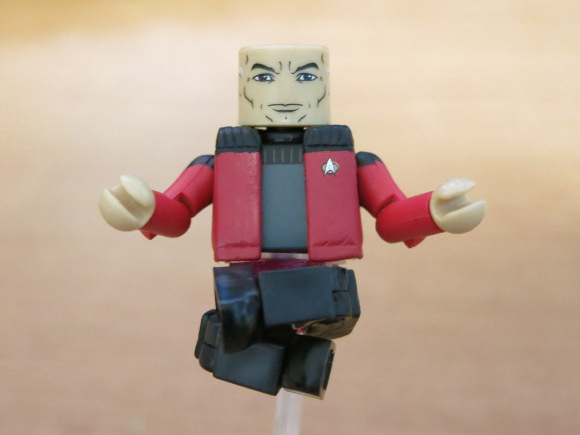
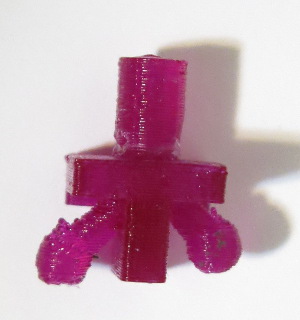
One request is for a new hip piece to allow a Minimate to sit in a crossed-leg or lotus position. (Yes, I know that's not Strange, but Picard was closer at hand.) Since I have a 3D Printer I took it upon myself to see what was possible.

Here are my various attempts in order from left to right. The first was simply to turn the hip balls vertical, but there was no clearance to actually move the legs. I had to keep tilting and extending until there was enough movement.

This is the final (rough) print. One side is longer so the legs can be more easily placed on top of each other. When they are the same length, the legs tilt and it doesn't look good. It might have worked if you could get the toes and heels to touch, but due to the limited bend of the knee that's not possible.
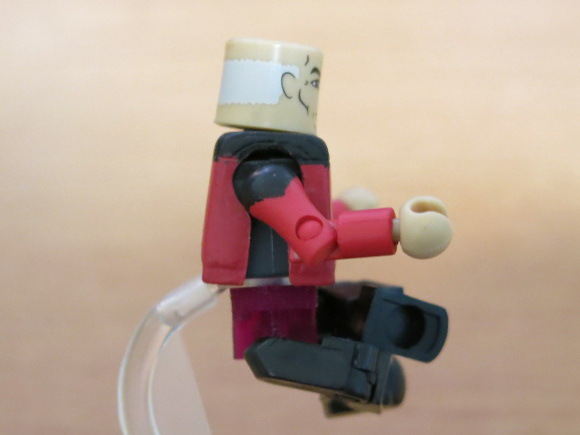

If anyone is interested in ordering some of these (with higher quality of course), let me know and I'll put it up on shapeways.
 Watercolor Spidey
September 18, 2014

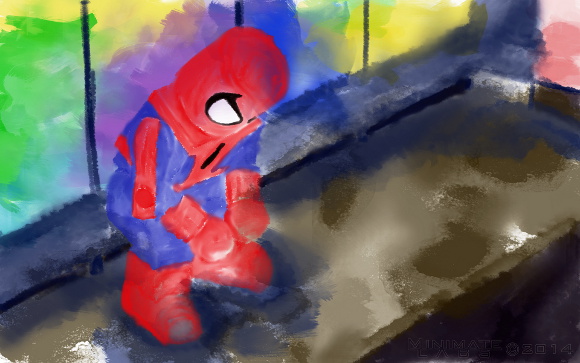
I find that whenever I try something new, I use the iconic Wave 2 Spider-Man as a basis. First 3D model, 3D animation, t-shirts. I had actually planned the stained glass to feature Spider-Man as well but I didn't know if it would look good enough to win that contest.
Here's his venture into watercolor. I considered adding webbing, but I was afraid of over-detailing. I feel the limited black works just right. I really love how this came out. I'm looking for a local shop to get some prints made, but I have no idea what I'm doing in that arena. Click the image for a larger version or here for the 1920x1080 version.
 Bit of Green
September 16, 2014

Not much to break a hiatus with. But the OCD dictates we must go in chronological order.
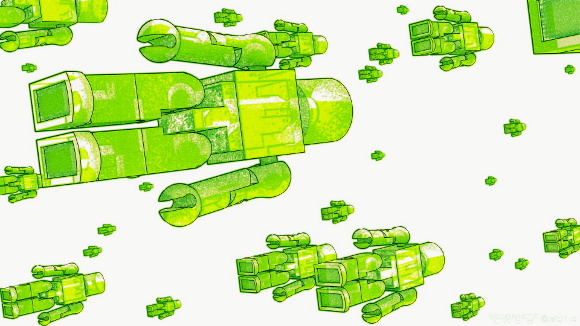
This is the same compositing setup as the previous post, just with different colors and models. Click the image for a larger version or here for the full 1920x1080 version.
 Kitt Color Experiment
January 30, 2014

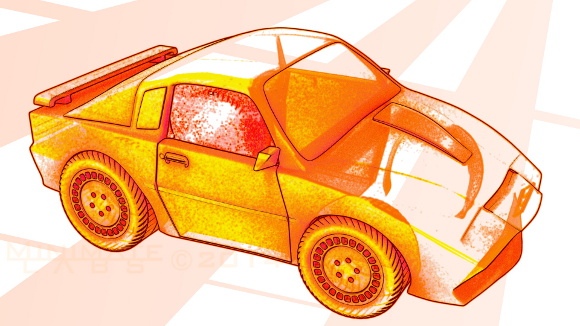
I don't think the Minimate vehicles get enough love so I started experimenting with the KITT model I made a couple years ago. I also found this interesting Blender compositing setup. Combine the two and this is the result.

 Skeleton X-Ray
January 16, 2014

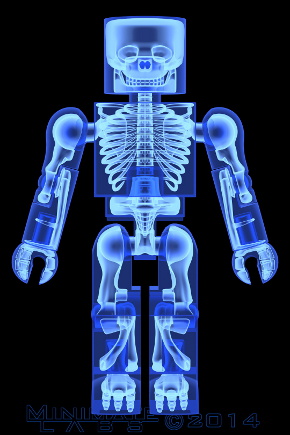
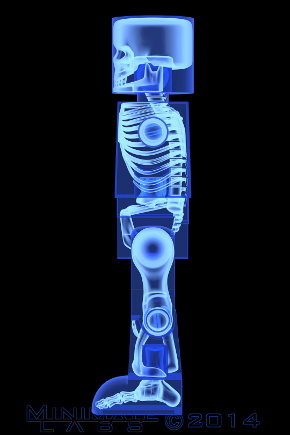
After creating a skeleton model the next natural step has to be X-Ray-like renders. Right? For me that's how I visualize bones.. a glowy form on a black background. Kind of like this:


You can click the images to get larger versions. I found a way to render these in Blender that gives a nice edge glow but is more transparent in smooth areas. It uses material nodes and the Cycles render engine which is a lot different from how I've used Blender in the past. I'd like to do more with nodes but I'm not sure that you can use both methods in the same render. We probably won't see Dr. Strange examining X-Rays anytime soon.
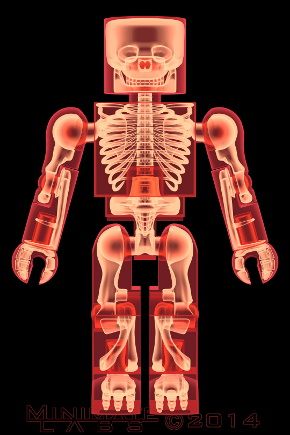
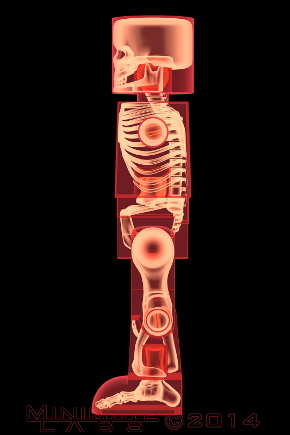

That makes me want to get a couple of these printed as transparencies. They would look great backlit by a light box or something. If I do it, I'll post images here.
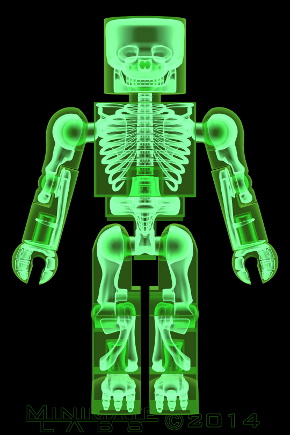
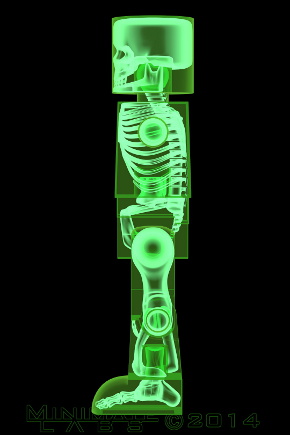
I've generated even larger versions, 1080x1620. Here are those links.
Blue: Anterior, Lateral
Red: Anterior, Lateral
Green: Anterior, Lateral
 Skeleton Half Views
January 14, 2014

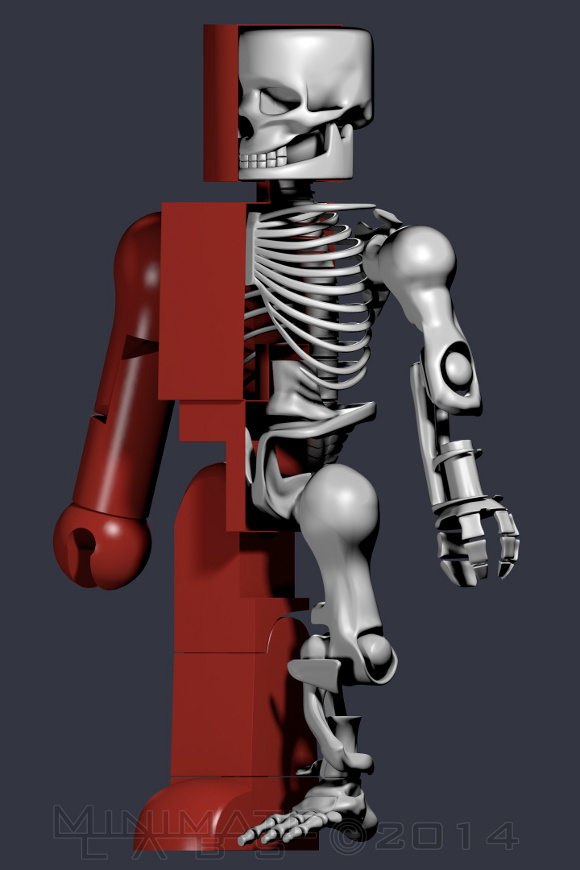
Here's a series of images that show how the skeleton from the previous post fits inside the basic Minimate body.


This obviously shows the detail in the model more than the previous renders. I tried to strike a balance between the complexity of a human skeleton and the simplicity of the Minimate form.
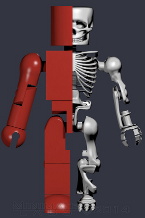
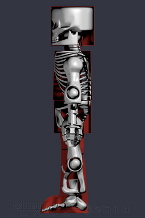
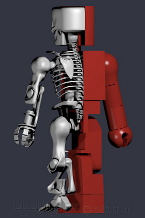
Here's a video turnaround just because I can.


Another skeleton post coming on Thurday too.