


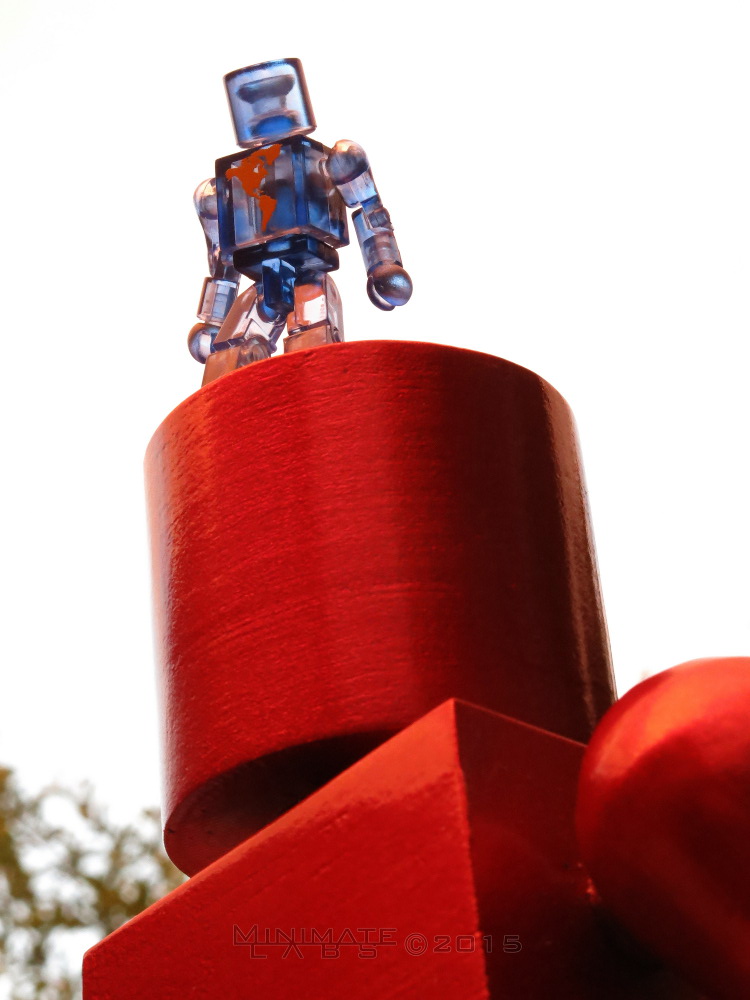
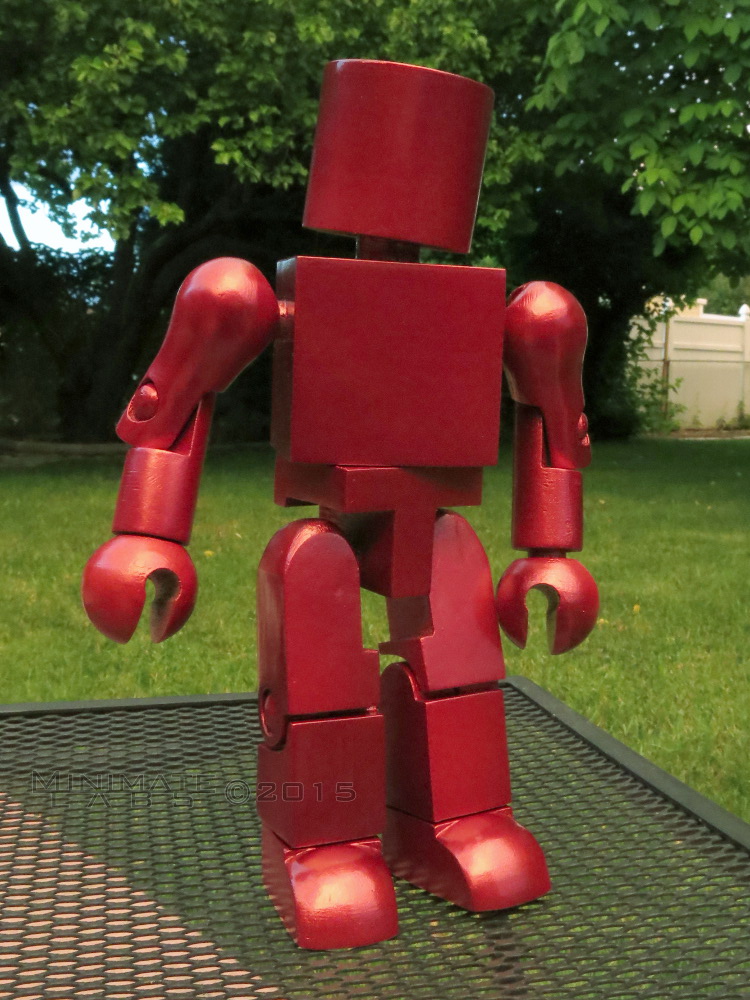
 500% Minimate Completion
June 12, 2015
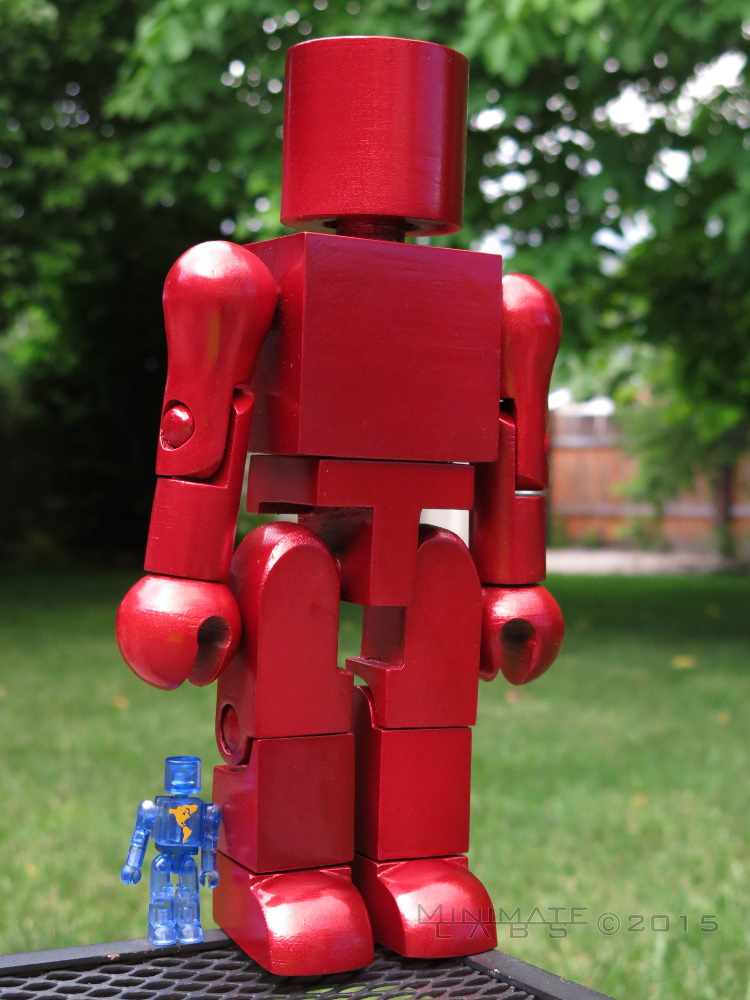
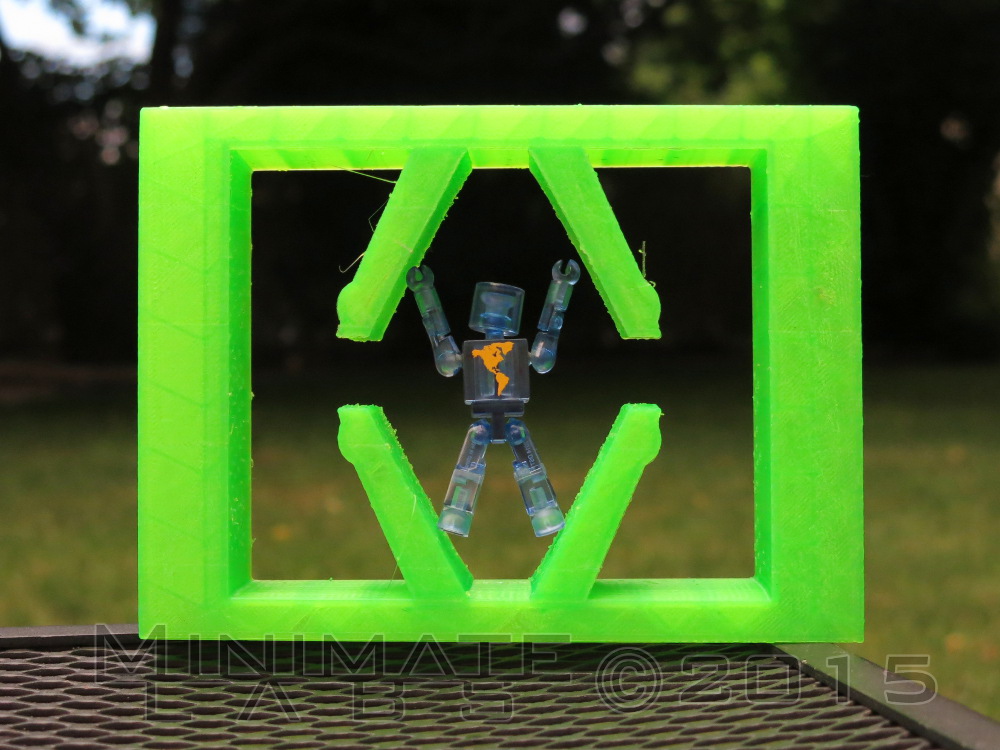
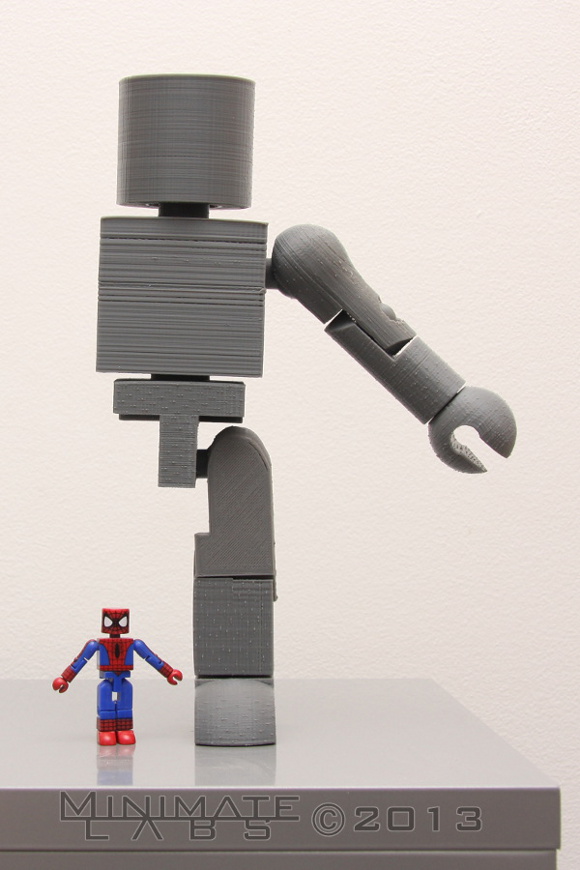
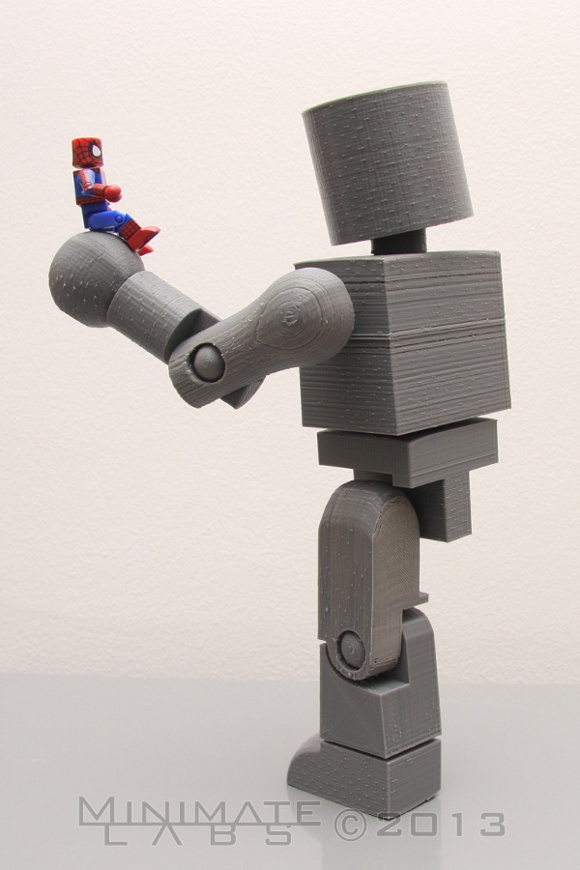
The light was changing on me while I was taking photos, so the color balance is off a bit from picture to picture. The closest color match is probably the side-by-side size comparison shot below.
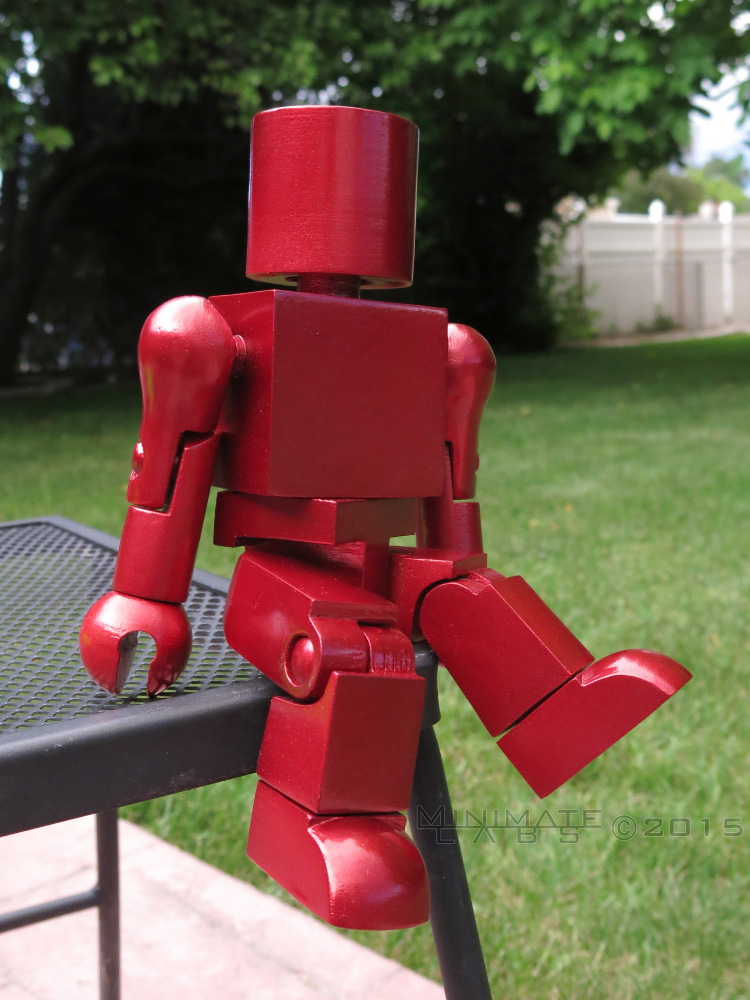
As you can see it is still fully poseable. Though the paint on the ball joints is wearing away and it doesn't look great around the joints.
 LabTable: Print Surface Prep
September 25, 2014
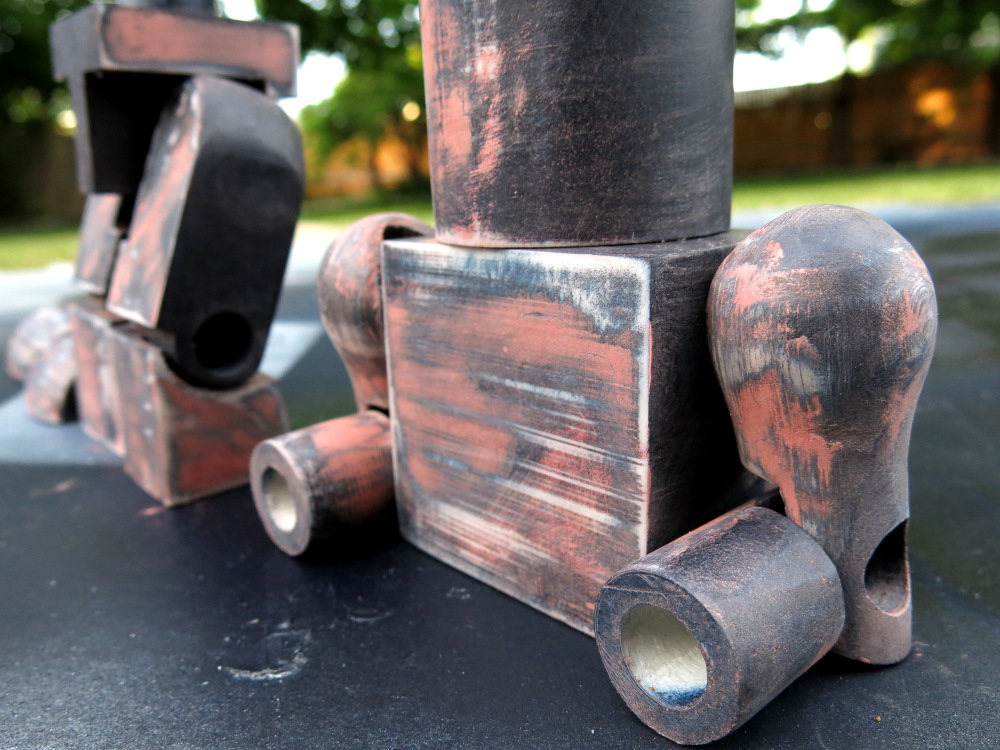
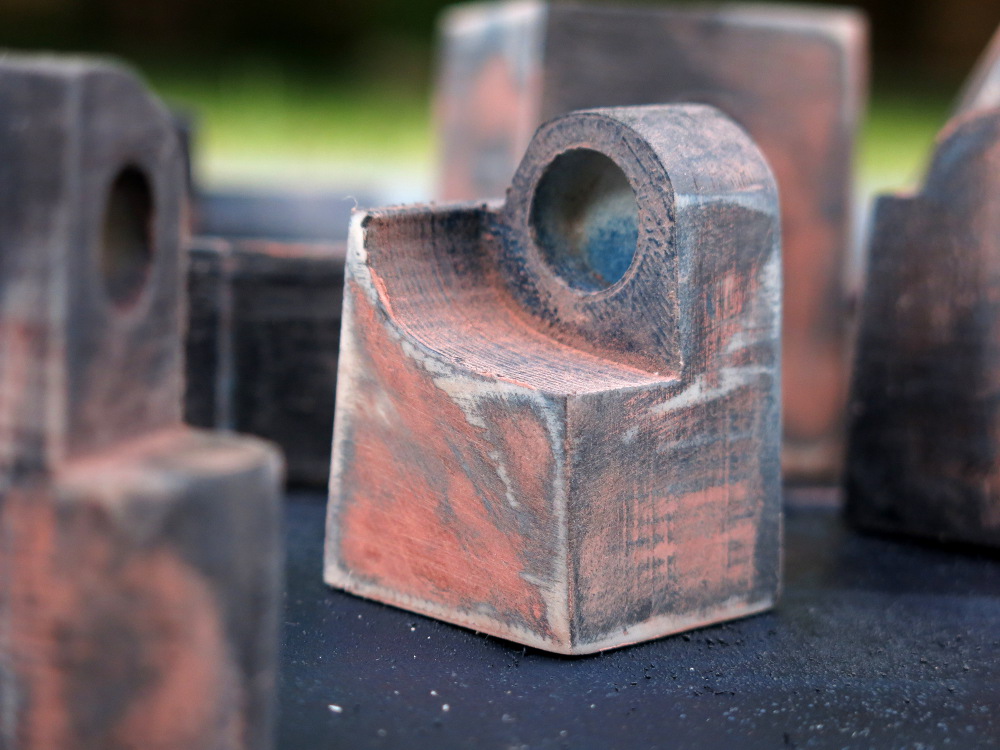


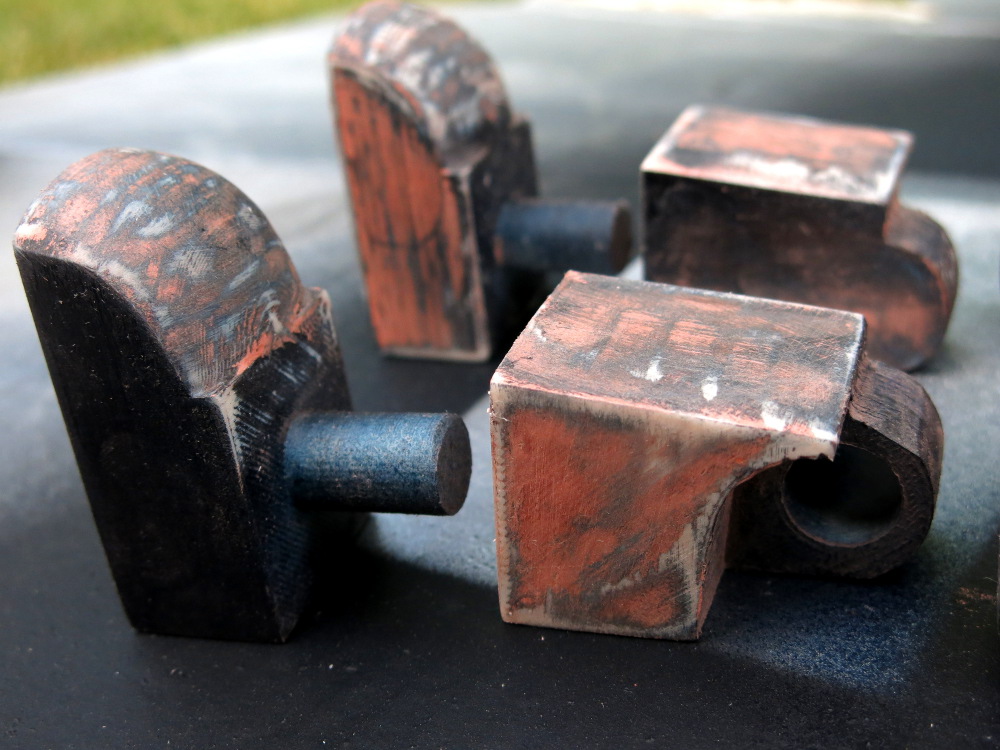
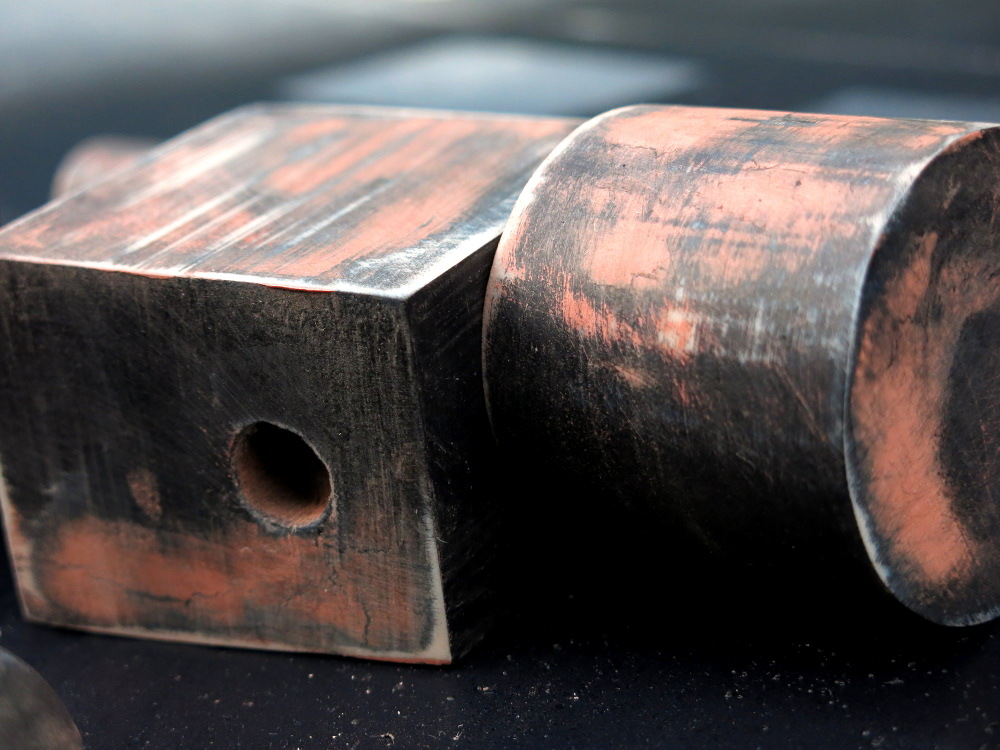

Look at all that texture.
LabTable: Printed MinimateDecember 19, 2013

Using the models I created for animation I was able to produce a scaled-up version of the basic Minimate.
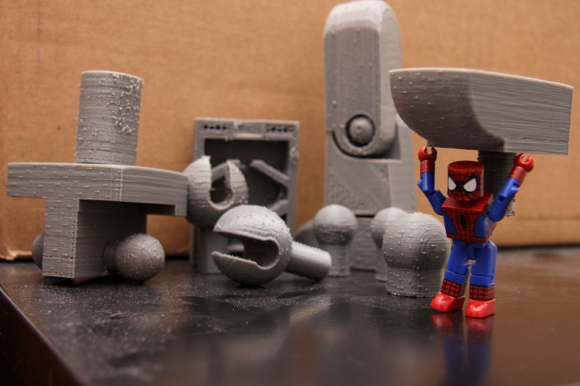
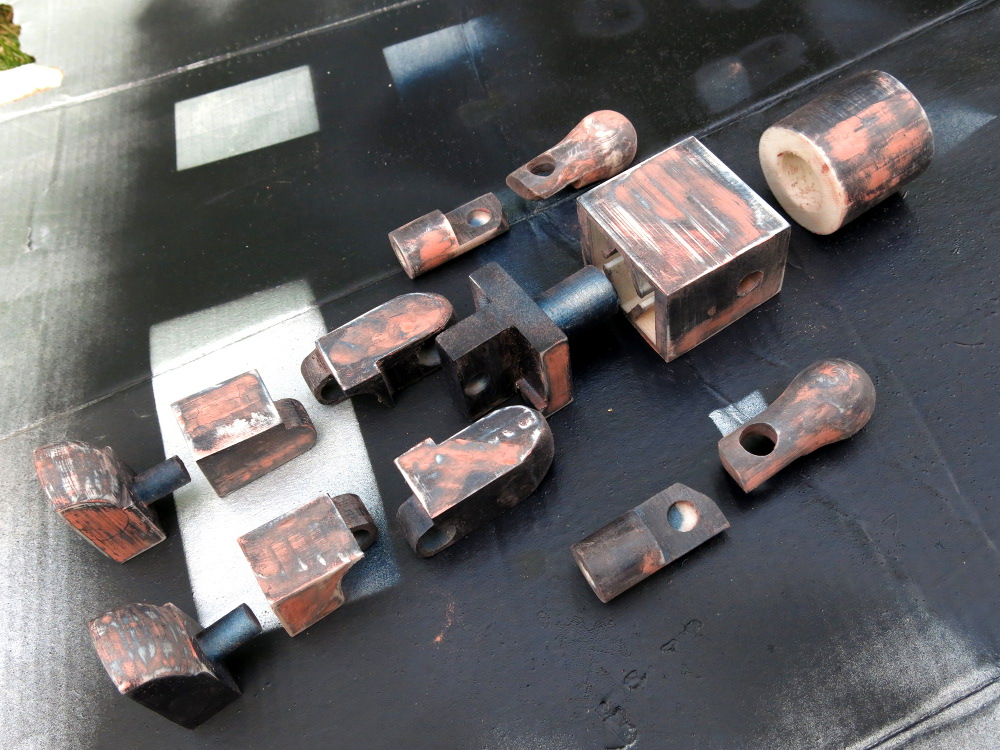
Like anything new there are bound to be problems. I printed many versions of the various pieces to get the fit and feel just right. I've also had a couple controller chips die so I end up waiting for replacement parts.
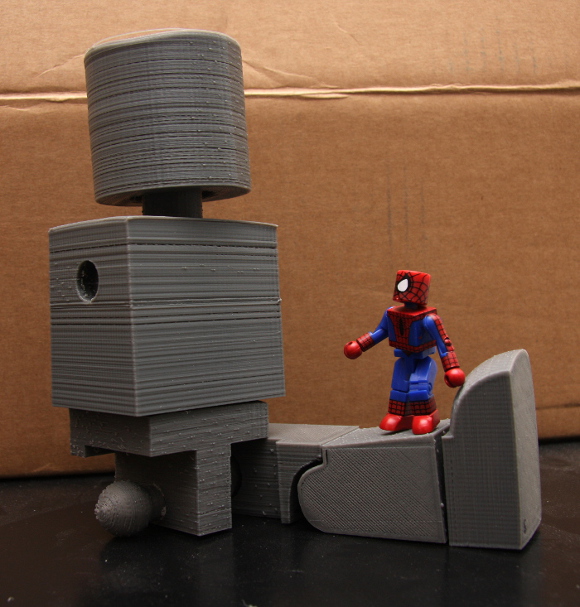
Print lines are very obvious in these early prints. It seemed whenever I would print a torso, about halfway through the printer would get off track just a bit. It would either skip layers or go over the edge a bit. It's gotten better, but still not ideal.
Also you can see the little blobs that indicated the starting point of each layer. These have been minimized quite a bit with recent prints. But I'm still sanding and filling to get the finish I want.
 I've also purchased the Ditto Upgrade Kit that should improve prints as well. Unfortunately it uses a thinner plastic filament so I have to use up my stock of plastic before upgrading. I've got about three spools to go.
This is still an ongoing project. I don't yet have a fully assembled jumbo Minimate. When I do, it will be posted here.
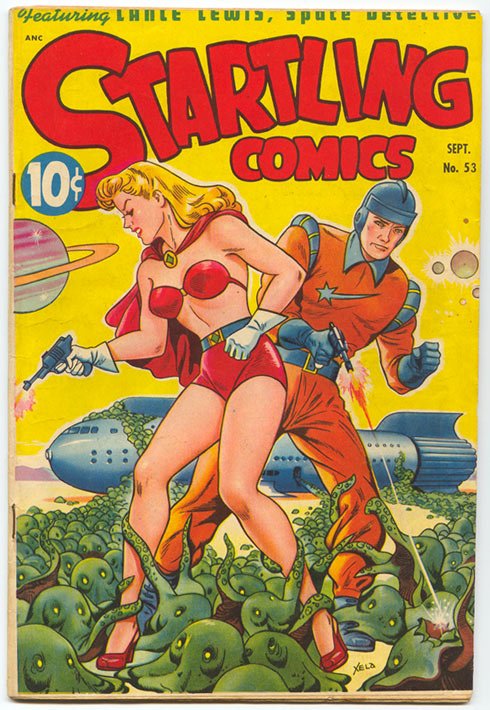
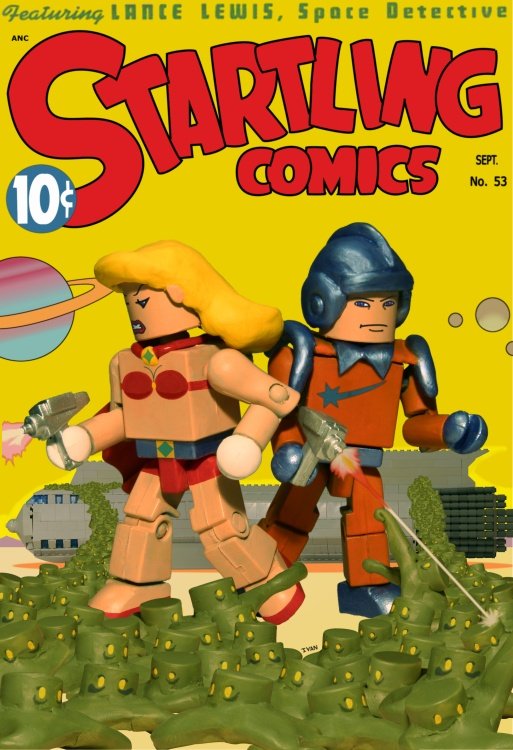
Comic Cover ContestJuly 9, 2009
Read More...
