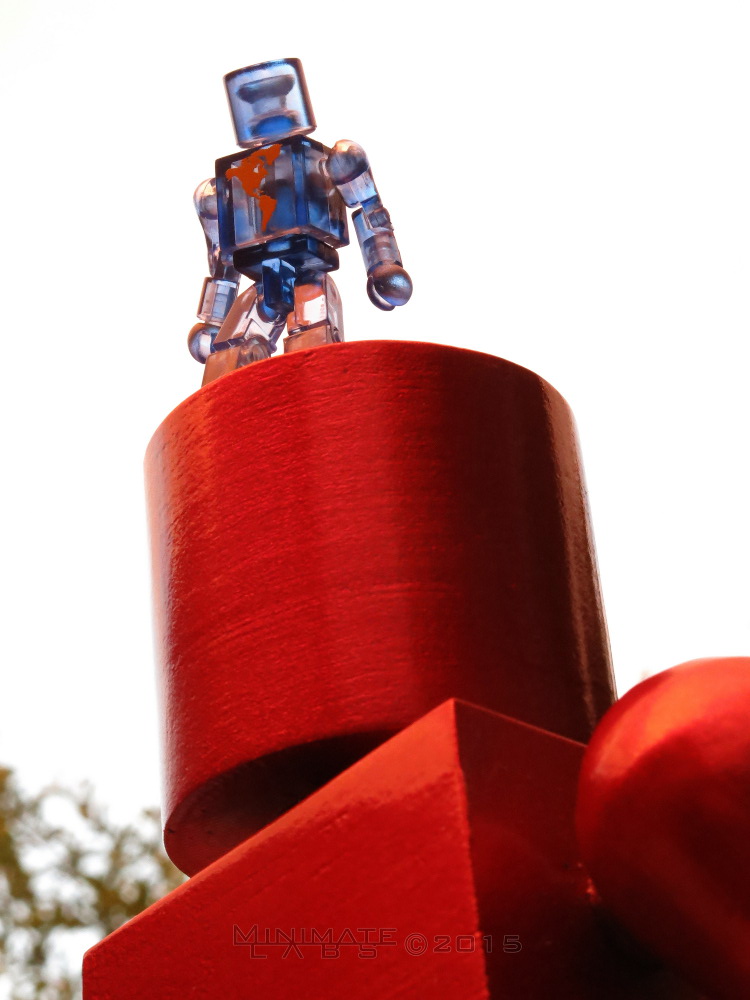
500% Minimate Completion
June 12, 2015

I made some time in the spring to finally finish up the 500% Minimate. I went with automotive paint for the metal flake appearance. After multiple coats, I topped it off with a couple clear coats for protection. Unfortunately before I was able to apply the clear coat to the head, I dropped it on my patio. It chipped out a sizable chunk and I went back to the fill-sand-paint routine for a while. Now I can't even tell where it chipped.


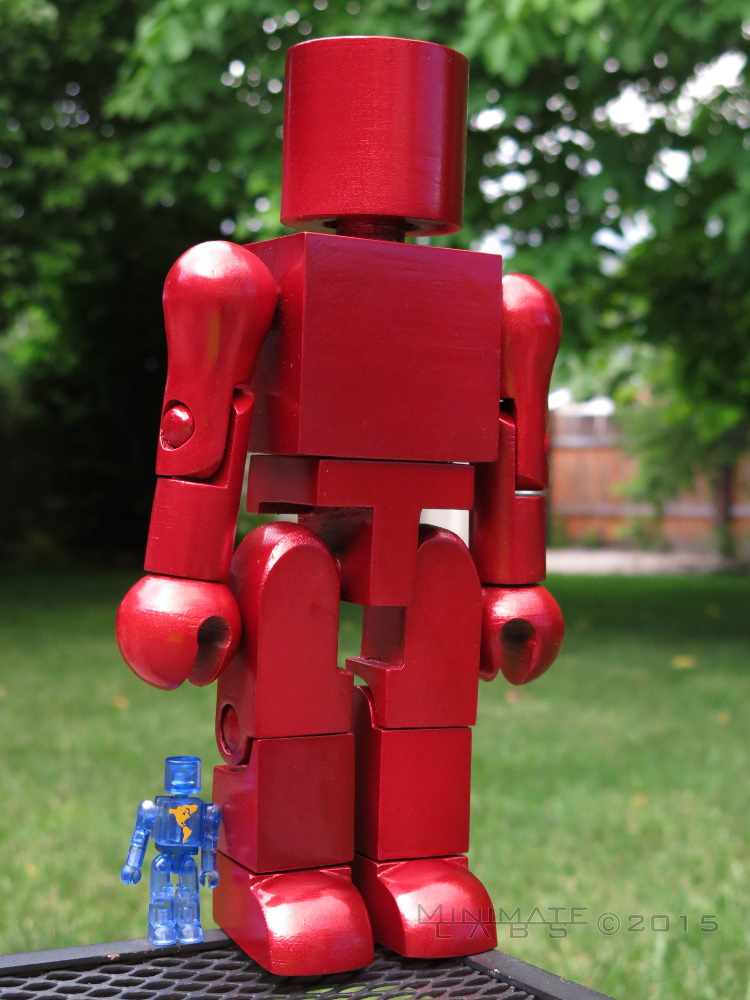
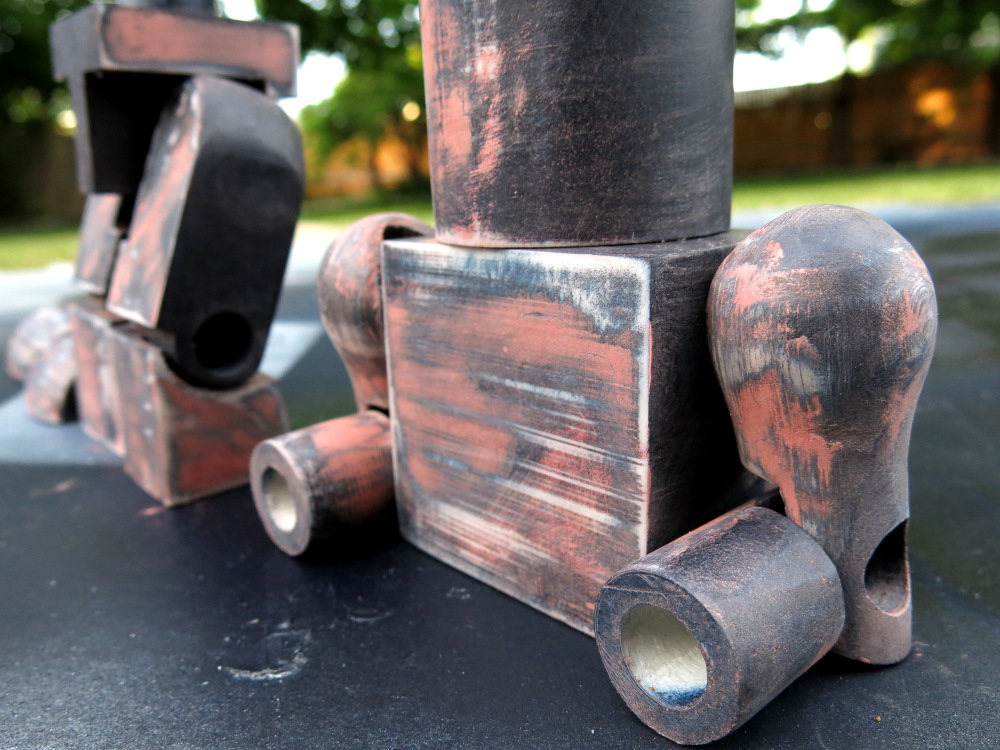
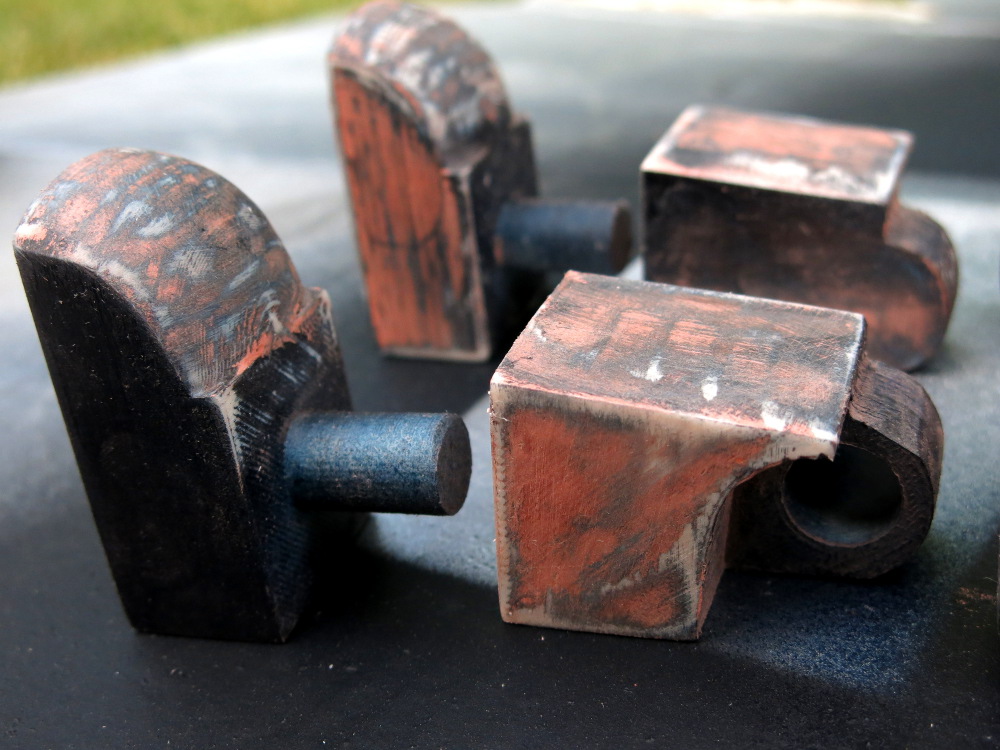
The light was changing on me while I was taking photos, so the color balance is off a bit from picture to picture. The closest color match is probably the side-by-side size comparison shot below.


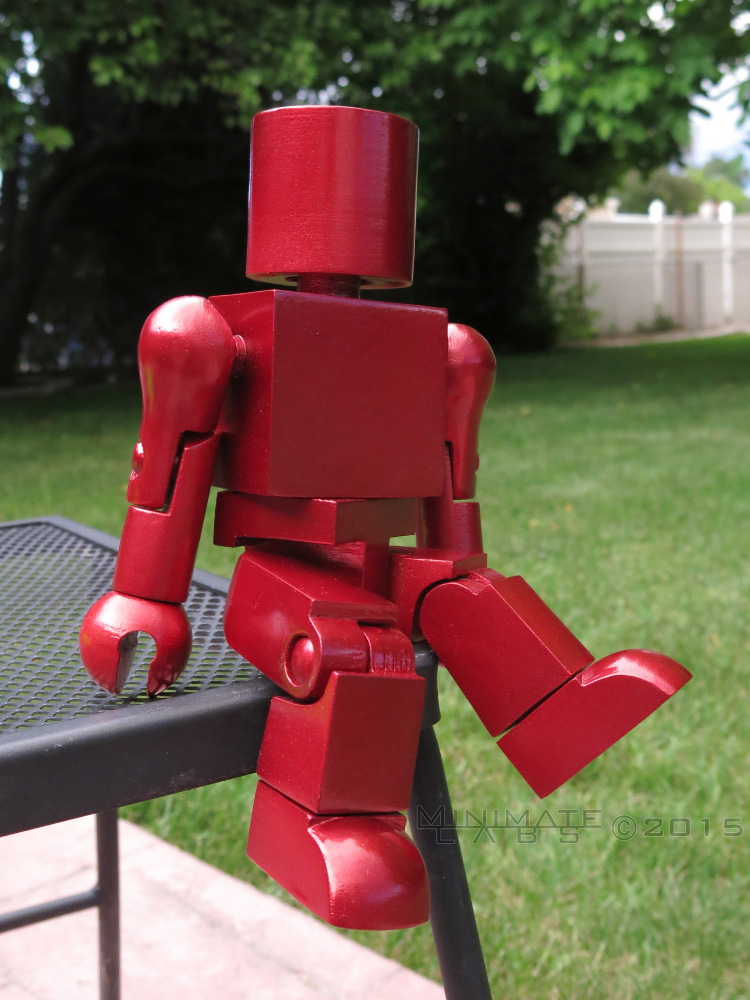
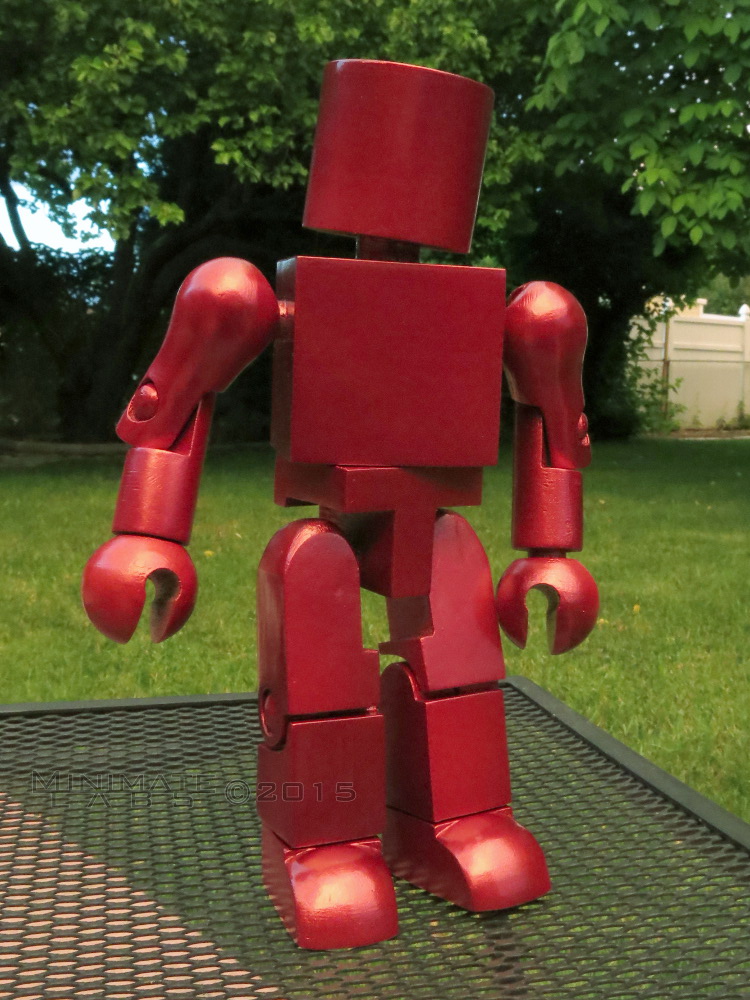
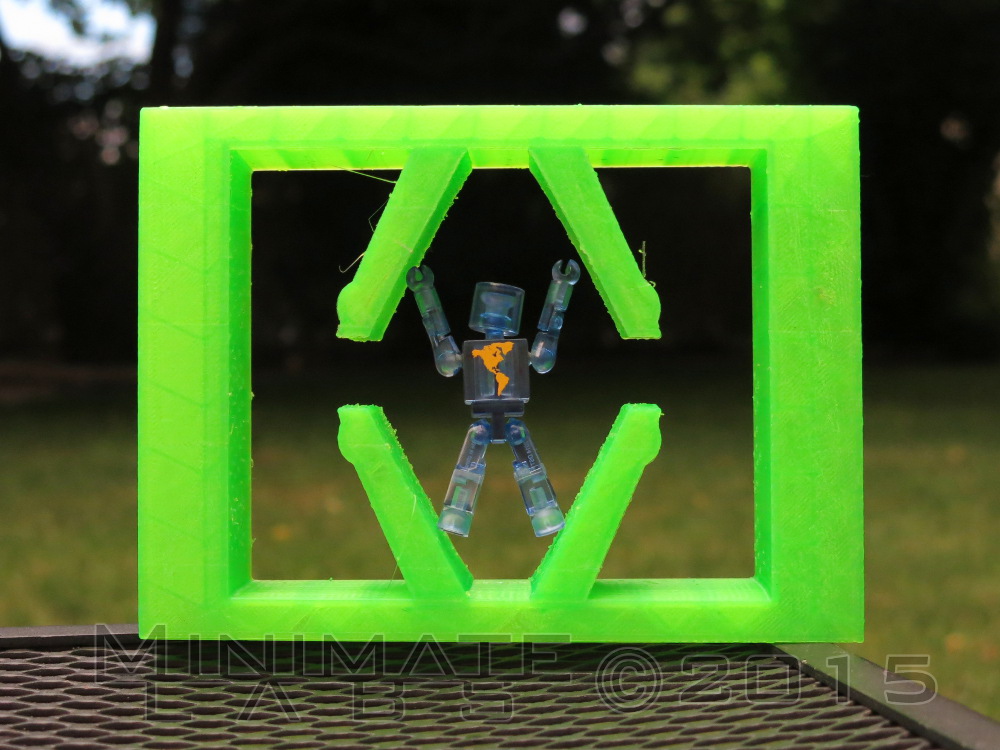
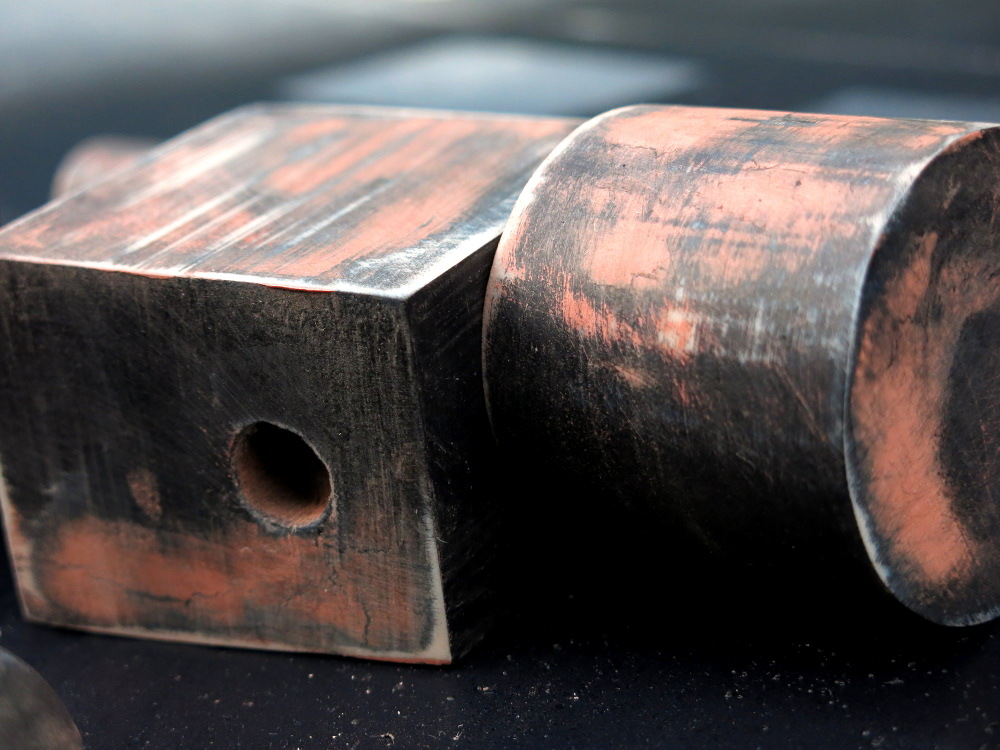
As you can see it is still fully poseable. Though the paint on the ball joints is wearing away and it doesn't look great around the joints.

The printer is back in operation, so next I'm going to see just how big I can make one of these suckers. Two Internet points if you can figure out the scale.
 LabTable: Print Surface Prep
September 25, 2014

Time to get back to the large printed Minimate. All of the major pieces are printed (or reprinted) and I've done some heavy sanding and filling to get a smooth finish. Before applying another layer of paint I took these photos of the cleaned up prints.


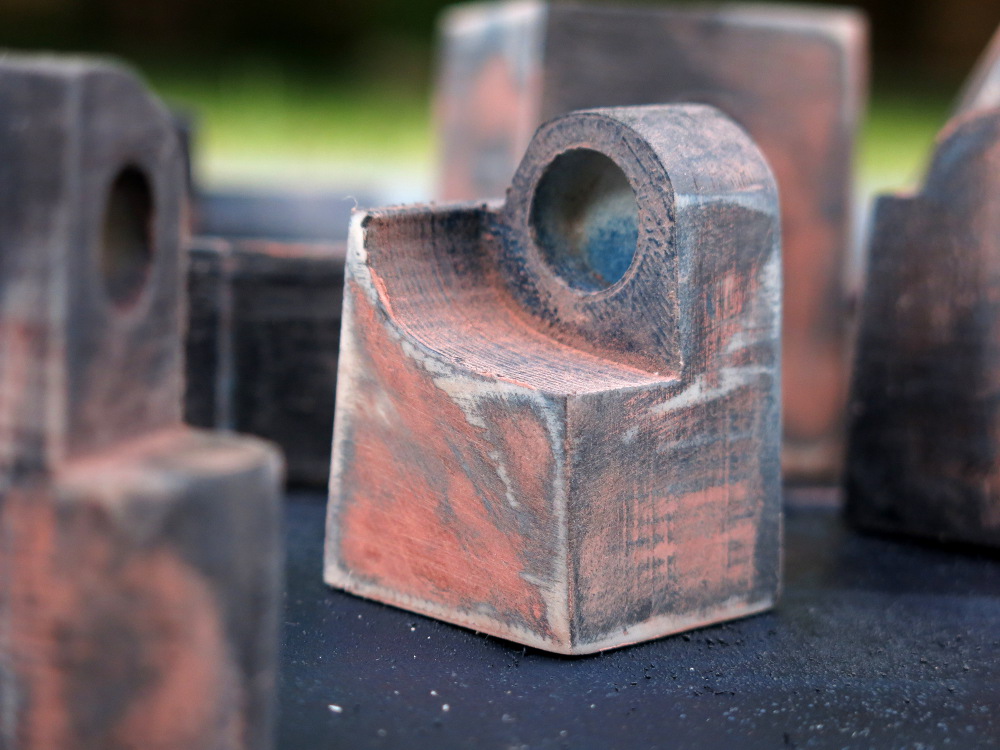
Look at all that texture.
 Translucent Wall Hangings
October 20, 2009

This is going to be another one of those light-on-text-heavy-on-pics type posts. There's really not too much to say about taking photos of Minimates, having them printed at various sizes, surrounding them with frames and suspending them on a wall.


Which is exactly what I did.
Read More...