 LabTable: Print Surface Prep
September 25, 2014
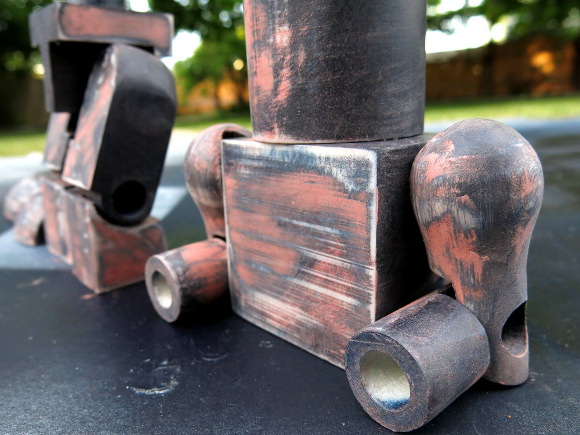
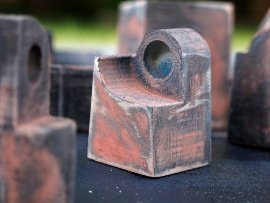
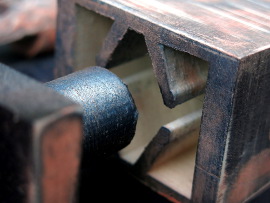
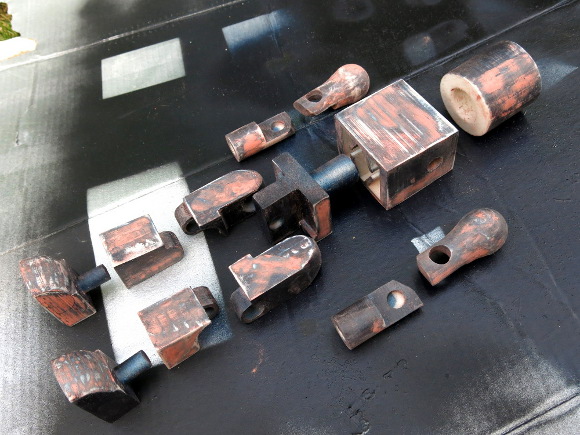
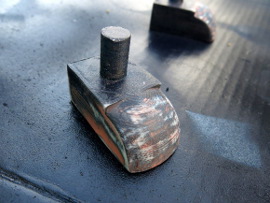
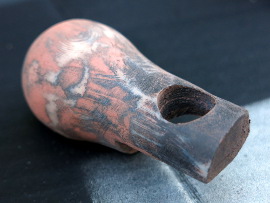
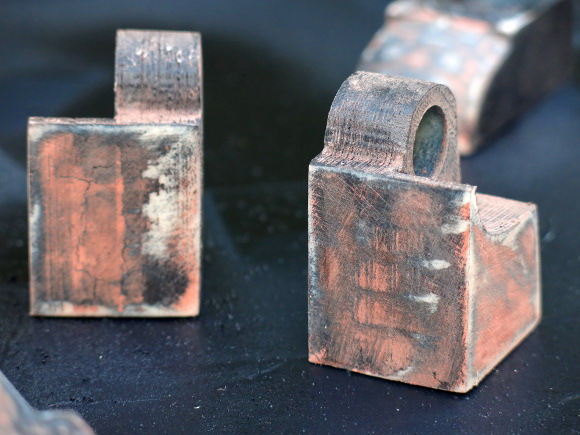
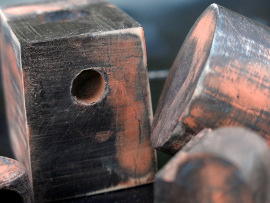
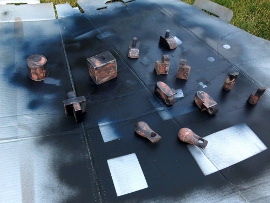
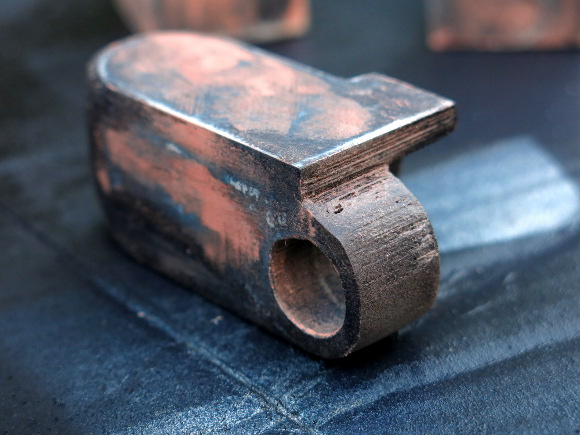
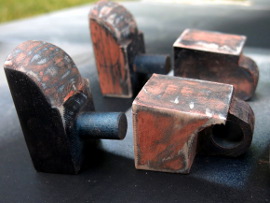
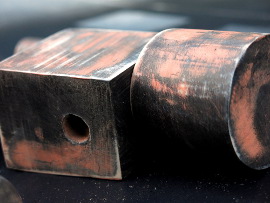
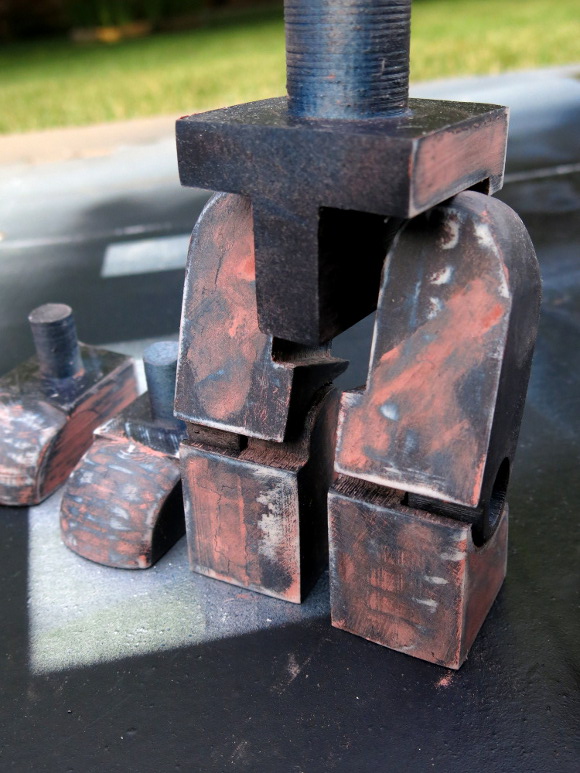
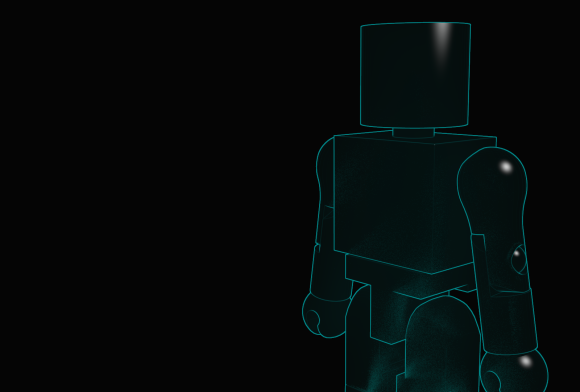
Look at all that texture.
 LabTable: Hall of Armor
December 26, 2013
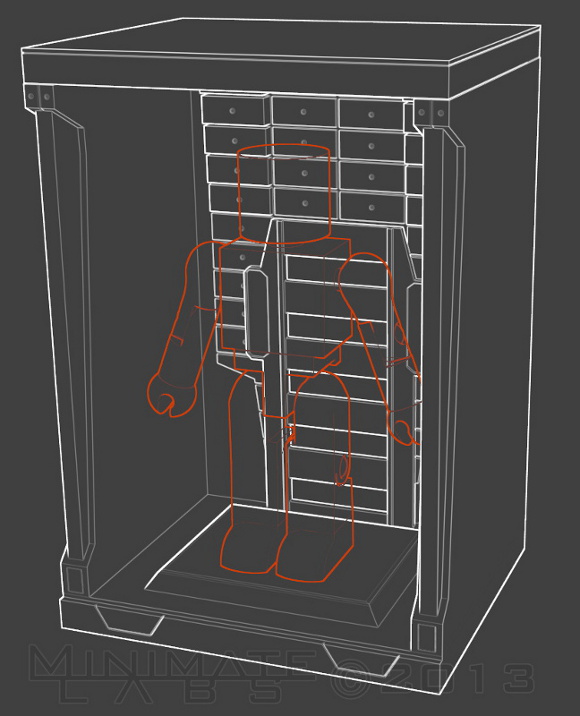
Here are the first renders. I still need to work on making it modular and how to best light it. Oh yes, there will be LEDs.
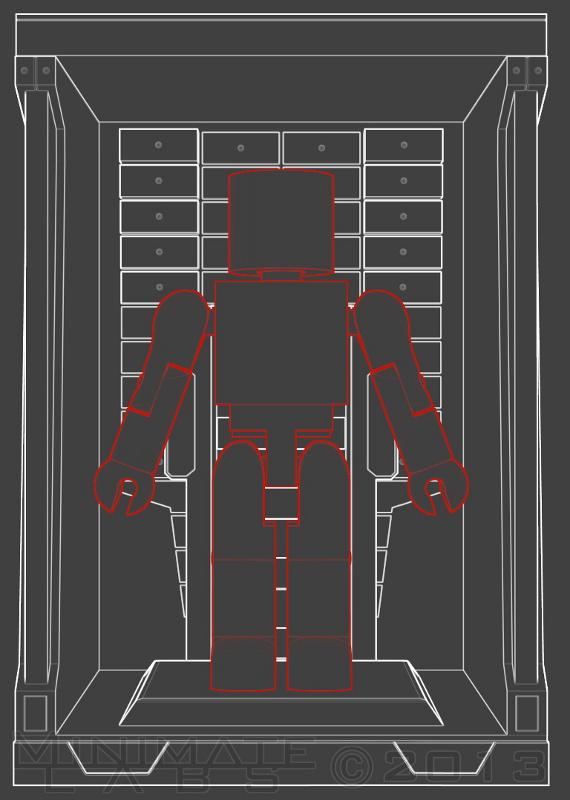
Updates to come.
 Stained Glass Phoenix
December 24, 2013
When starting something new, my first reaction is to go slow, experiment and learn how to do it right. I quickly realized that wouldn't win me any contests, so I went full bore with a roughly 14" by 14" Phoenix image with over 100 pieces of glass. Here's the result.
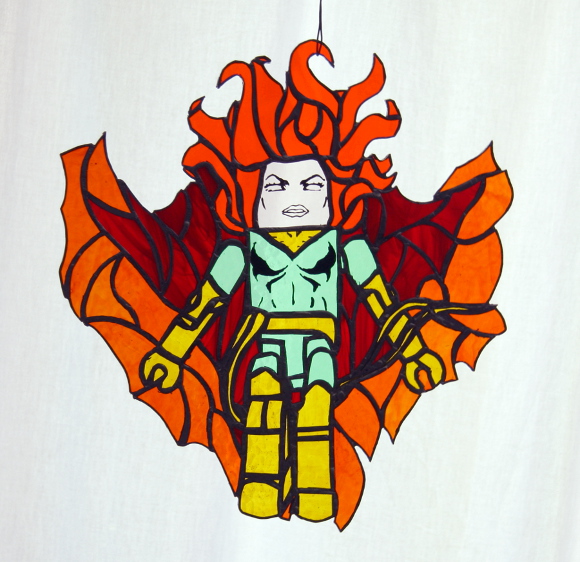
This is actually a scaled-back version. My original template had a much larger fiery Phoenix Force in the background. I do plan on finishing the full version in the upcoming months. Keep checking back.
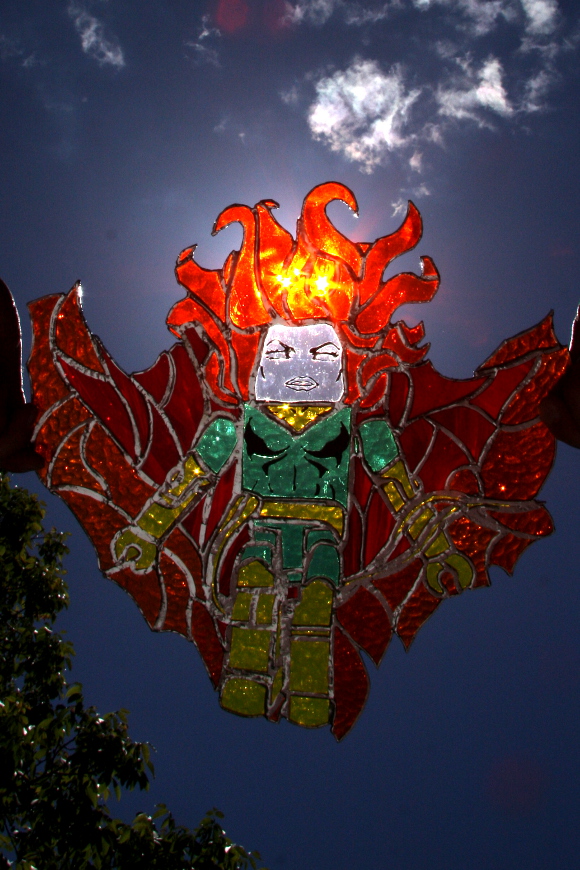
Back lit on a bright, sunny day. Here you can really see the texture of the glass. I wish I hadn't used such small pieces for the sash. They really caused a lot of difficulties and detract from the overall look. Oh well, lesson learned.
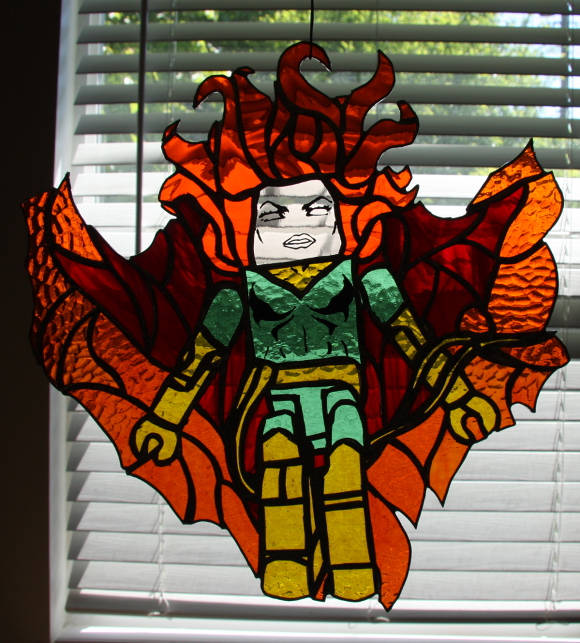
Against the work room window. In these photos you can't really see the solder lines. That's the part that I'm least satisfied with. They are uneven and a bit lumpy.
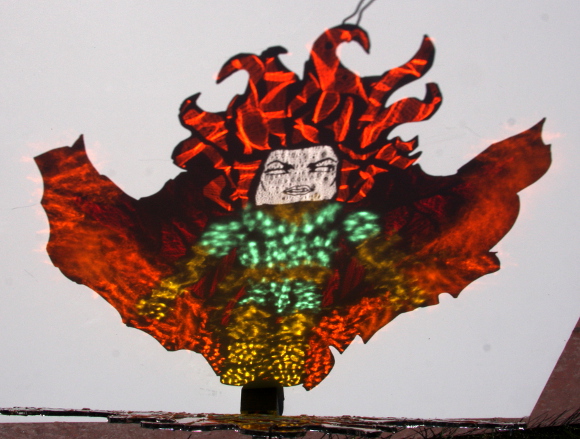
Here's a big reason why I love stained glass. Refraction. It's so cool way the light bounces and flows as you move the piece. The way the different types of glass bend the light.
You can see all the anniversary contest entries here.
 LabTable: Printed Minimate
December 19, 2013
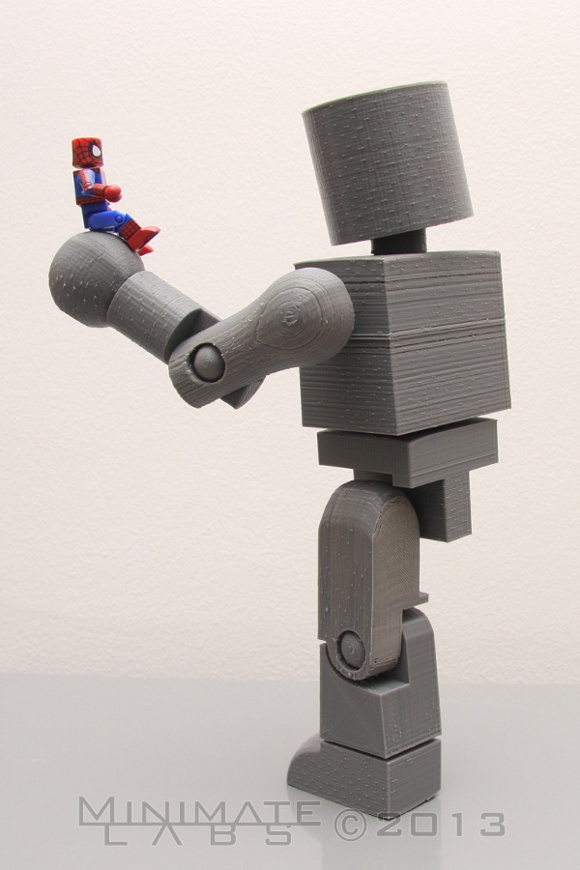
Using the models I created for animation I was able to produce a scaled-up version of the basic Minimate.
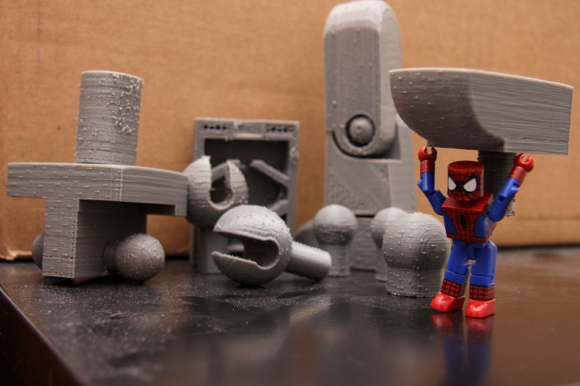
Like anything new there are bound to be problems. I printed many versions of the various pieces to get the fit and feel just right. I've also had a couple controller chips die so I end up waiting for replacement parts.
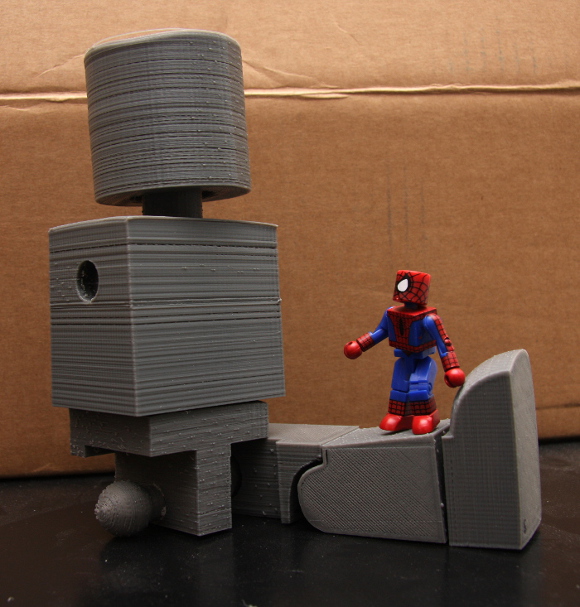
Print lines are very obvious in these early prints. It seemed whenever I would print a torso, about halfway through the printer would get off track just a bit. It would either skip layers or go over the edge a bit. It's gotten better, but still not ideal.
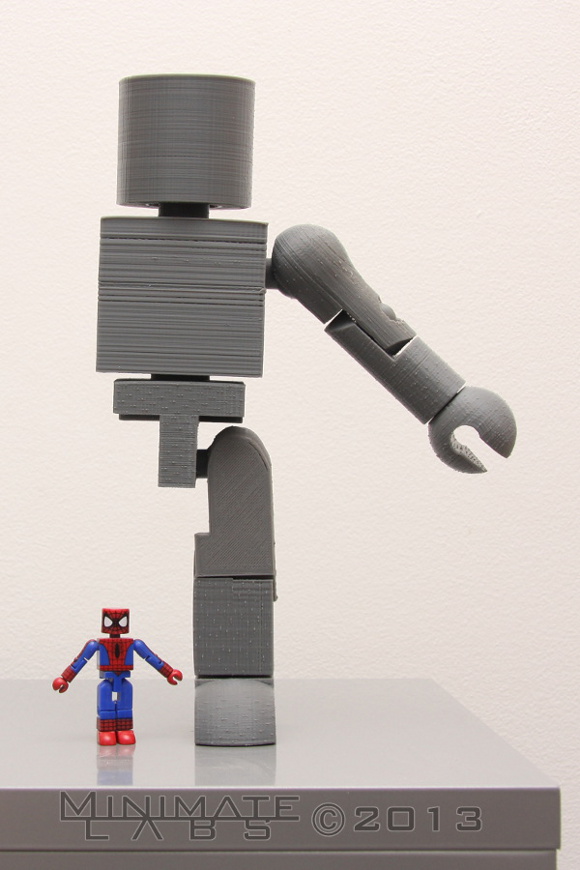
Also you can see the little blobs that indicated the starting point of each layer. These have been minimized quite a bit with recent prints. But I'm still sanding and filling to get the finish I want.
 I've also purchased the Ditto Upgrade Kit that should improve prints as well. Unfortunately it uses a thinner plastic filament so I have to use up my stock of plastic before upgrading. I've got about three spools to go.
This is still an ongoing project. I don't yet have a fully assembled jumbo Minimate. When I do, it will be posted here.
 Blue Experiment 1
December 7, 2010
It's nothing high-concept or earth-shattering, but I like it. Click for a 1600x1080 version.
I hope to start adding these 'on the workbench' type posts on a more regular basis. Though I need to come up with a better way to describe them, preferably one that I didn't steal from Boyd.
ADDED:I think "Lab Table" is a good replacement.


